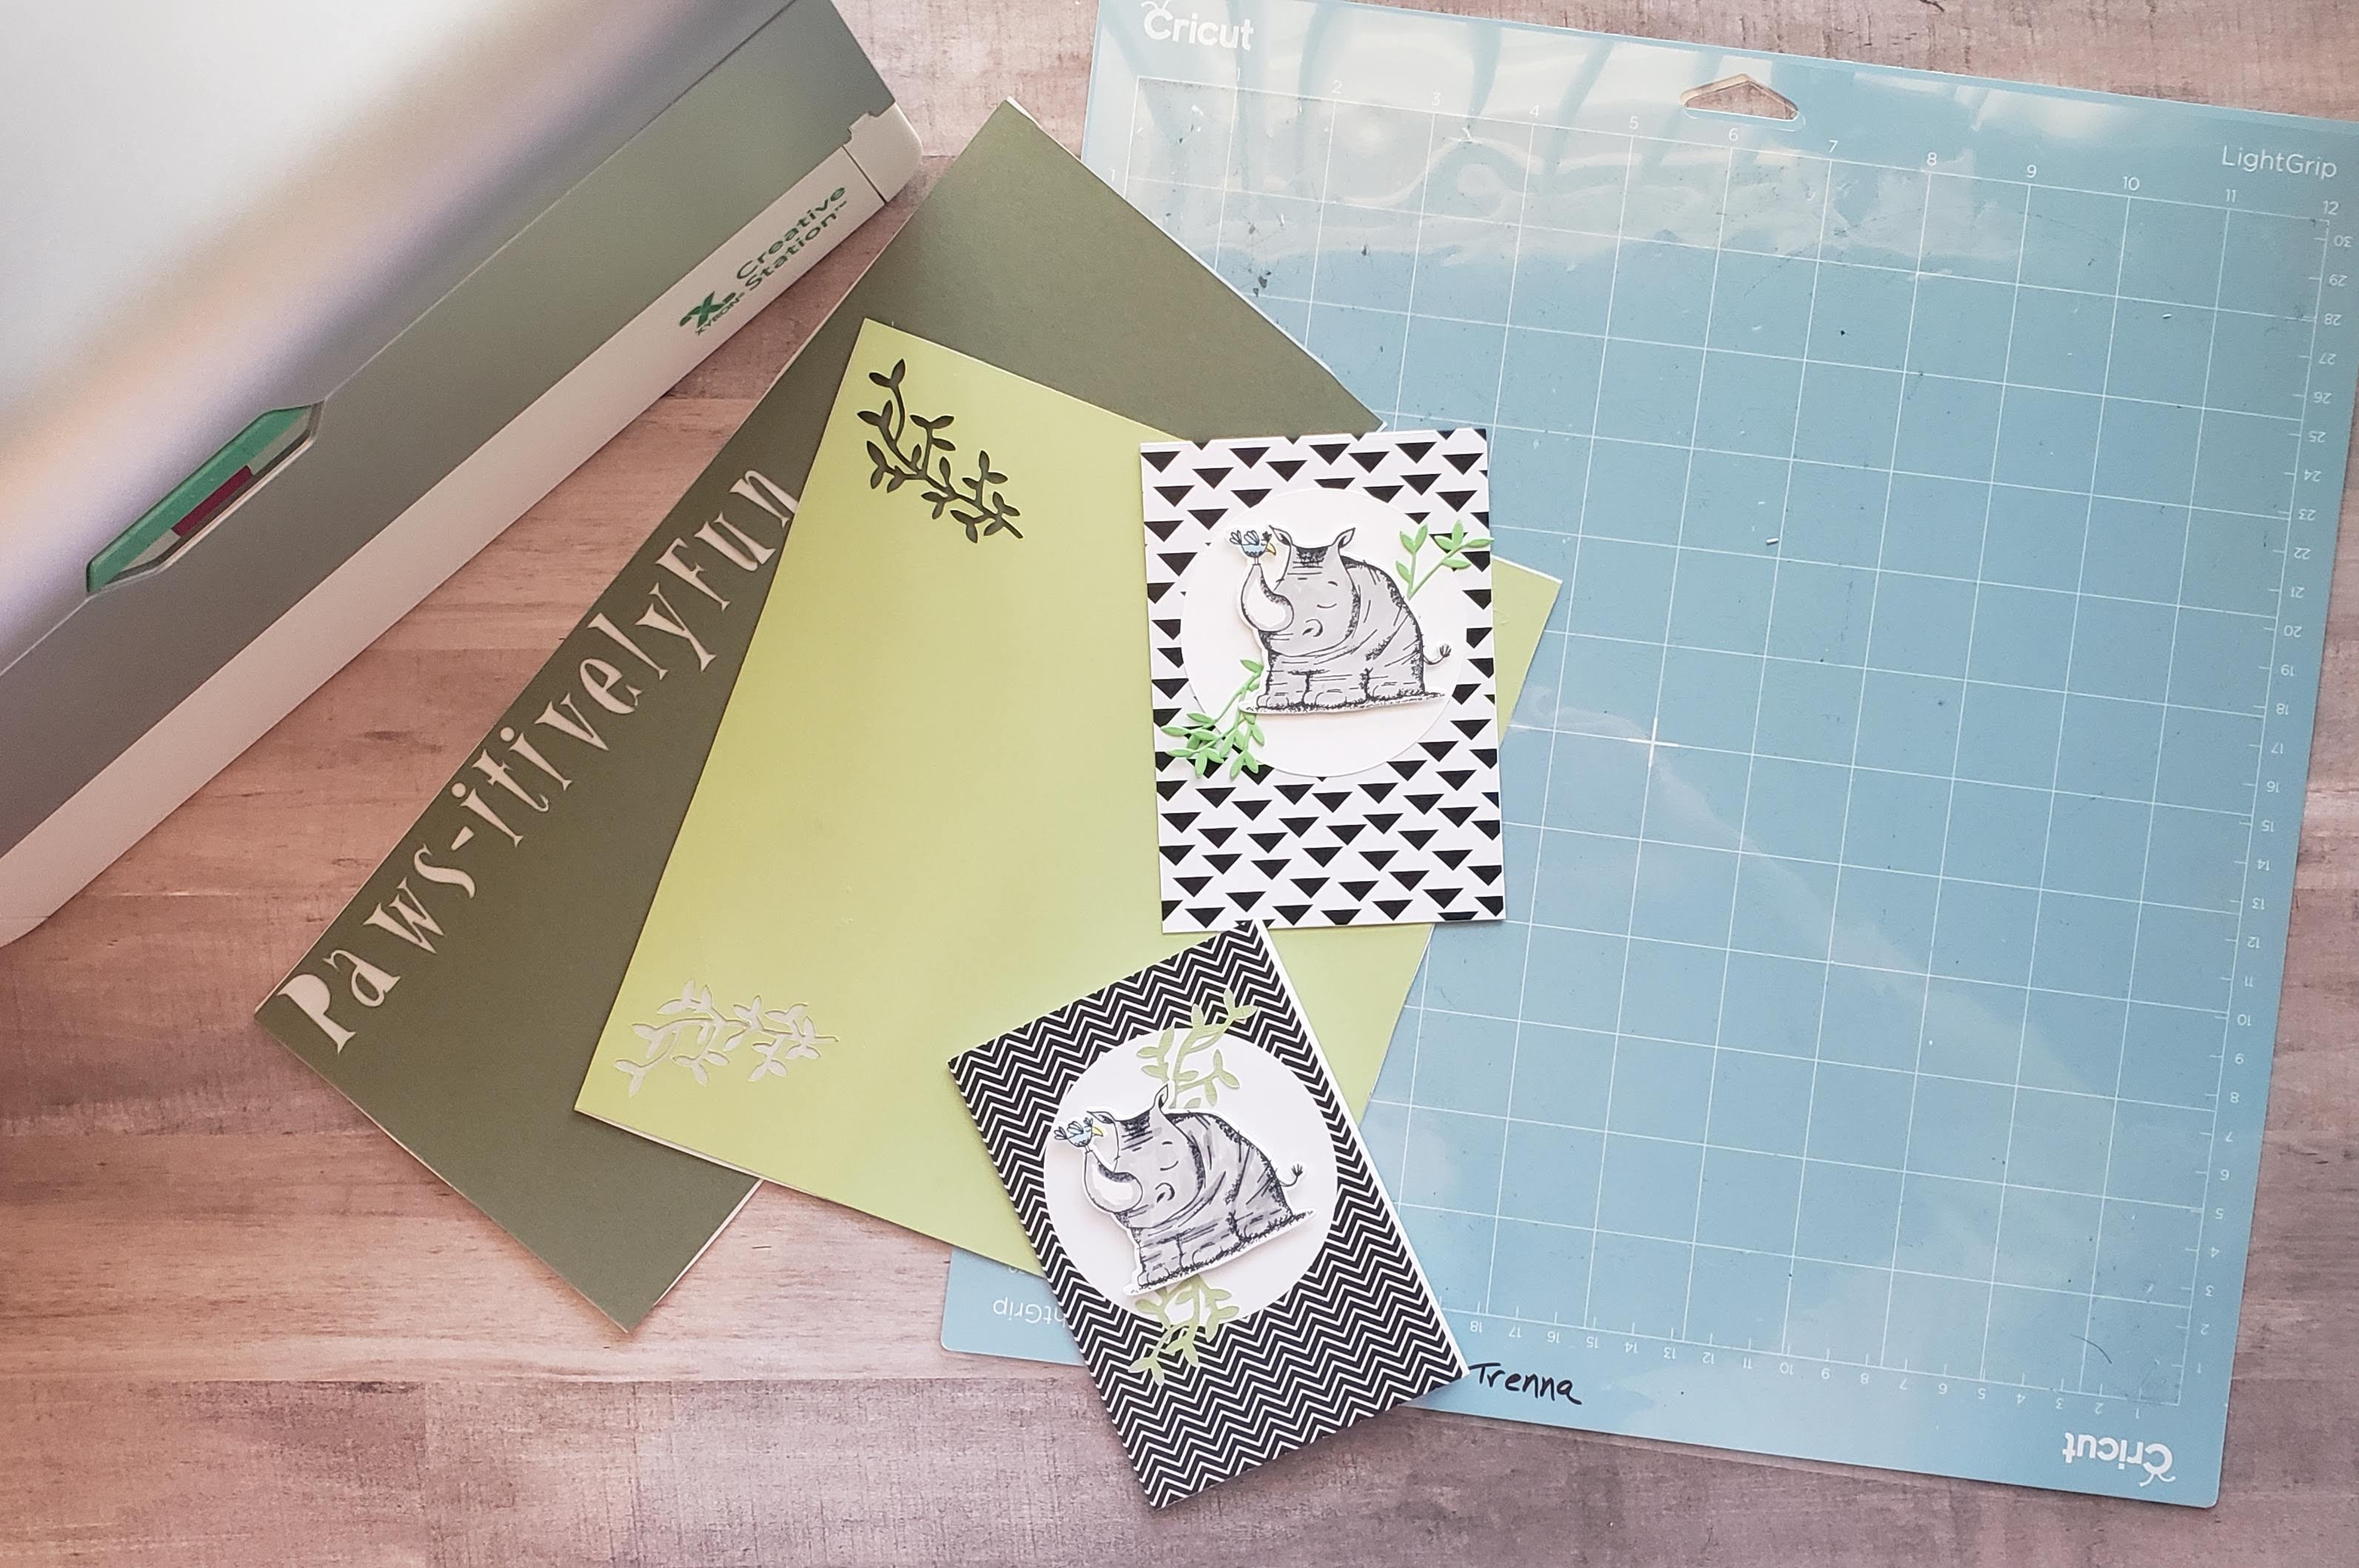
I know we’ve talked a little bit before about my cute little rhino here, but I thought I would kind of step you through my thinking when I decided I needed about 13 more of these little guys. First, the rhino at the top was created on the base card of the Paper Pumpkin rejected embroidery kit. Like I said earlier, it’s not my thing to embroider “thanks” on a card with yellow yarn. So, this little guy got created using the Animal Outing stamp set and the coordinating dies.
The kit let me create 8 cards, but I decided I needed another 13 for a mailing project I have going. As much as I love my Big Shot, the thought of cutting out 13 3-inch circles and then 26 little vines wasn’t something that seemed to thrill me. Thus, my Cricut was the way to go.
First off, cutting 13 3-inch circles on the Cricut was easy-peasy, telling the machine the exact measurements I needed and how many. When it came to cutting the vines, I did a quick search in the images section and found the ones I thought would work. Since these vines were going to be fairly detailed, I knew my best course of action was to run a 9×12 sheet of cardstock through my Xyron machine loaded with the adhesive cartridge. I then loaded my design, placed my adhesive-backed cardstock face down on my cutting mat, told the machine how many I wanted and let it go to town.
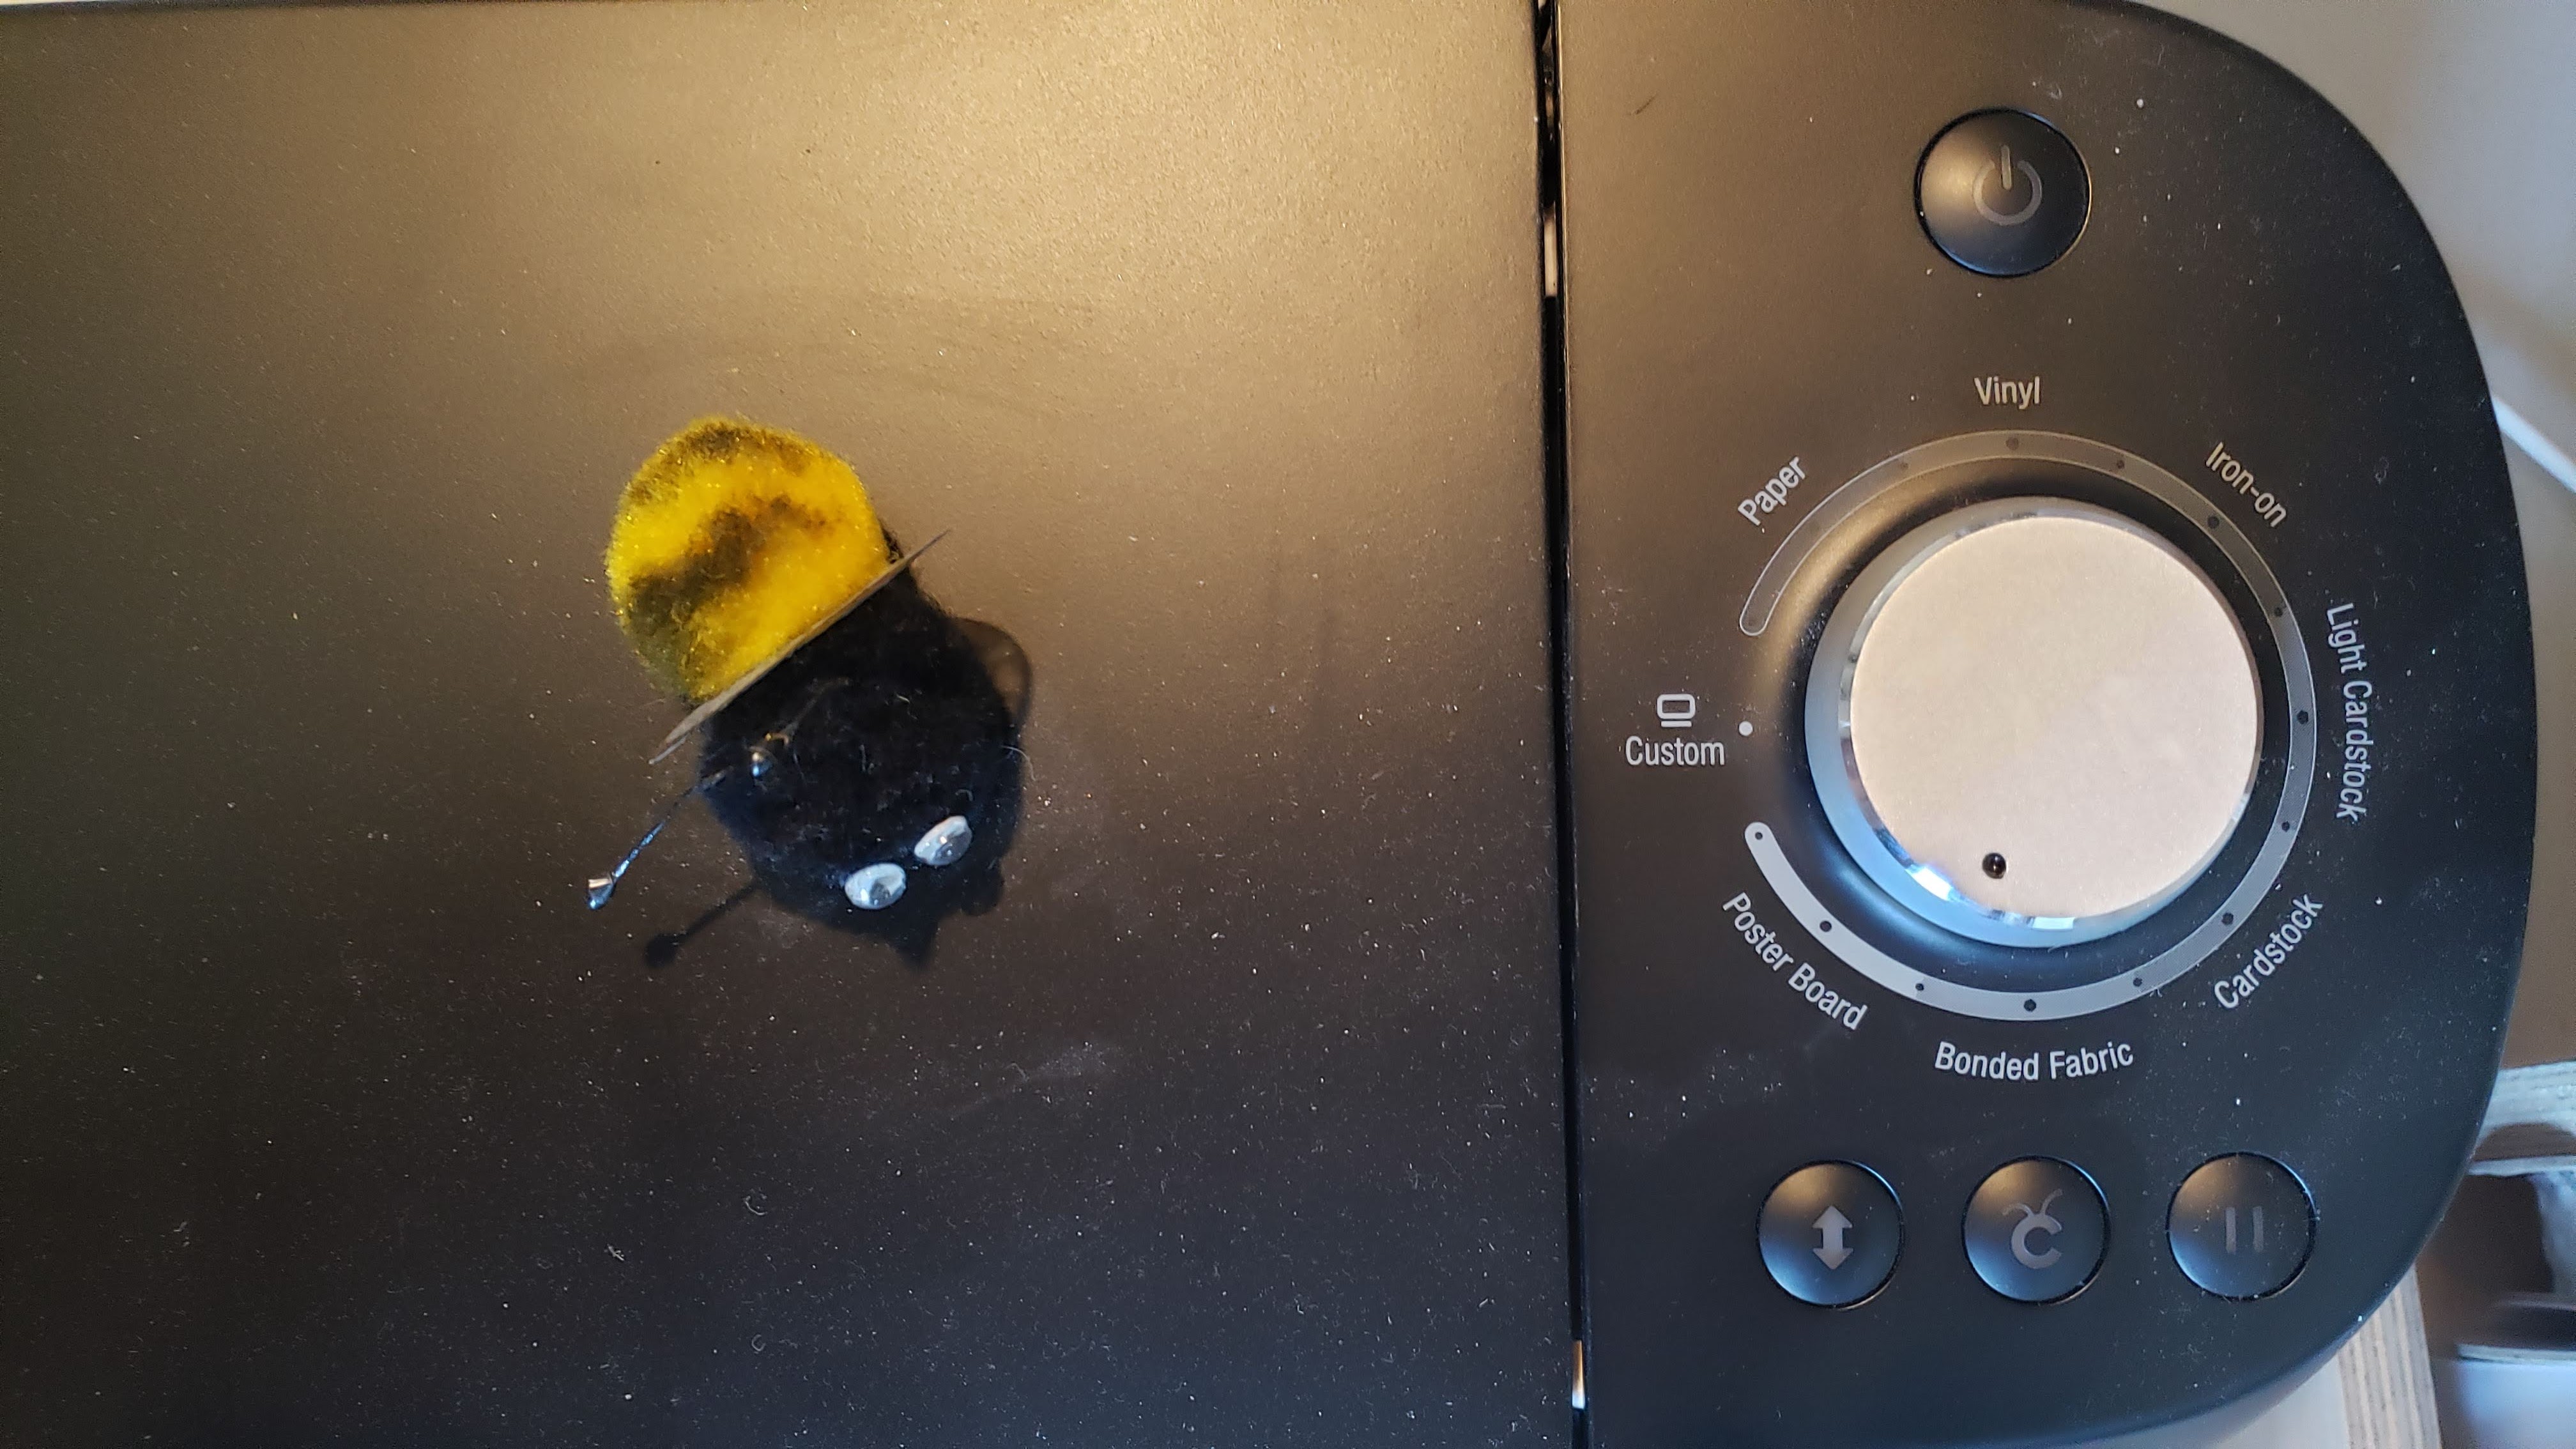
Above you see two different ways I cut my items when I have them already on adhesive. The setting I used for the vines is shown above, since this time I wanted to make sure that the Cricut cut all the way through the sheet. I would be hauling my project to a craft night and I wanted to be able to just carry a little baggy full of vines with me instead of a large sheet. Anyway, this setting worked perfect for me. I always experiment with “ugly” paper when trying a cut the first time, and this is the one that achieved what I wanted.
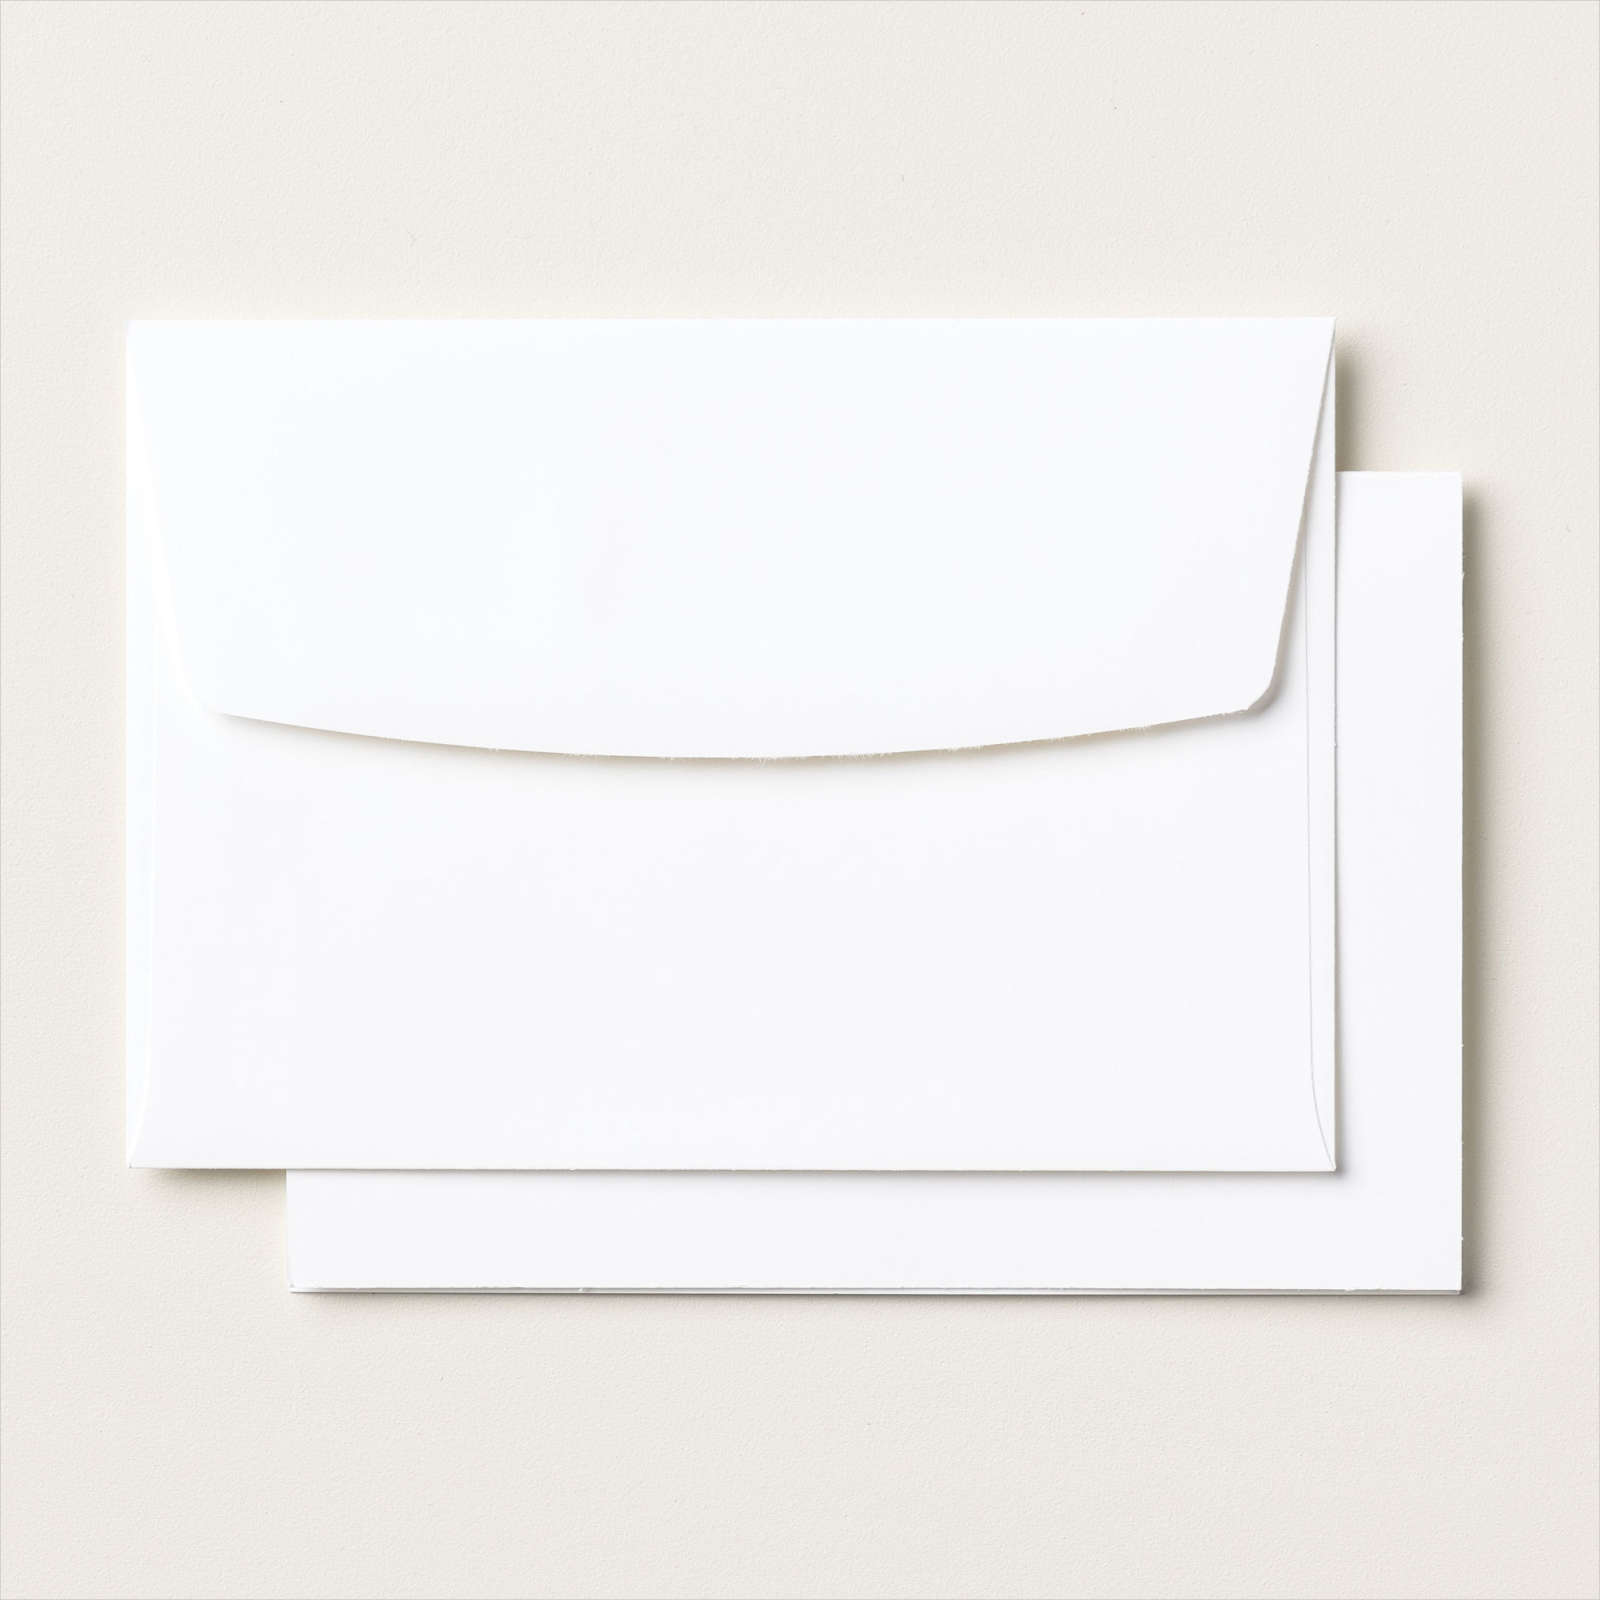
Once everything was cut, I went through my stash and found plenty of black and white paper and adhered it to the front of the Note Cards & Envelopes I always keep on hand from Stampin’ Up!. These are great card bases measuring 5×3-1/2 with corresponding envelopes, a set of 20 in a pack. I, of course, had fun using my Blends to color in my rhino and ran the colored images through my Big Shot using the corresponding die and attaching him with Dimensionsals.
Hope this helps a little for those of you playing with your Cricut or other electronic cutting machine. Keep stampin’ and scrappin’!