Thank goodness, it’s finally over. I have struggled with these challenges with my sis-in-law Susanne since the first one weeks ago. She is a maker with that “other” stamping company. Although I will admit I had a feeling of accomplishment after I finished each layout. The best thing about it was the fact I actually used my paper and ran through some of my stash also. Here goes for the final installment. Our sketch we were working with is above. I thought this last one would center on winter/Christmas. See what you think!

First of all, you may notice little pieces of white paper under some of my embellishments. I didn’t want those to stick down permanently until I had my actual photos or journaling in place.
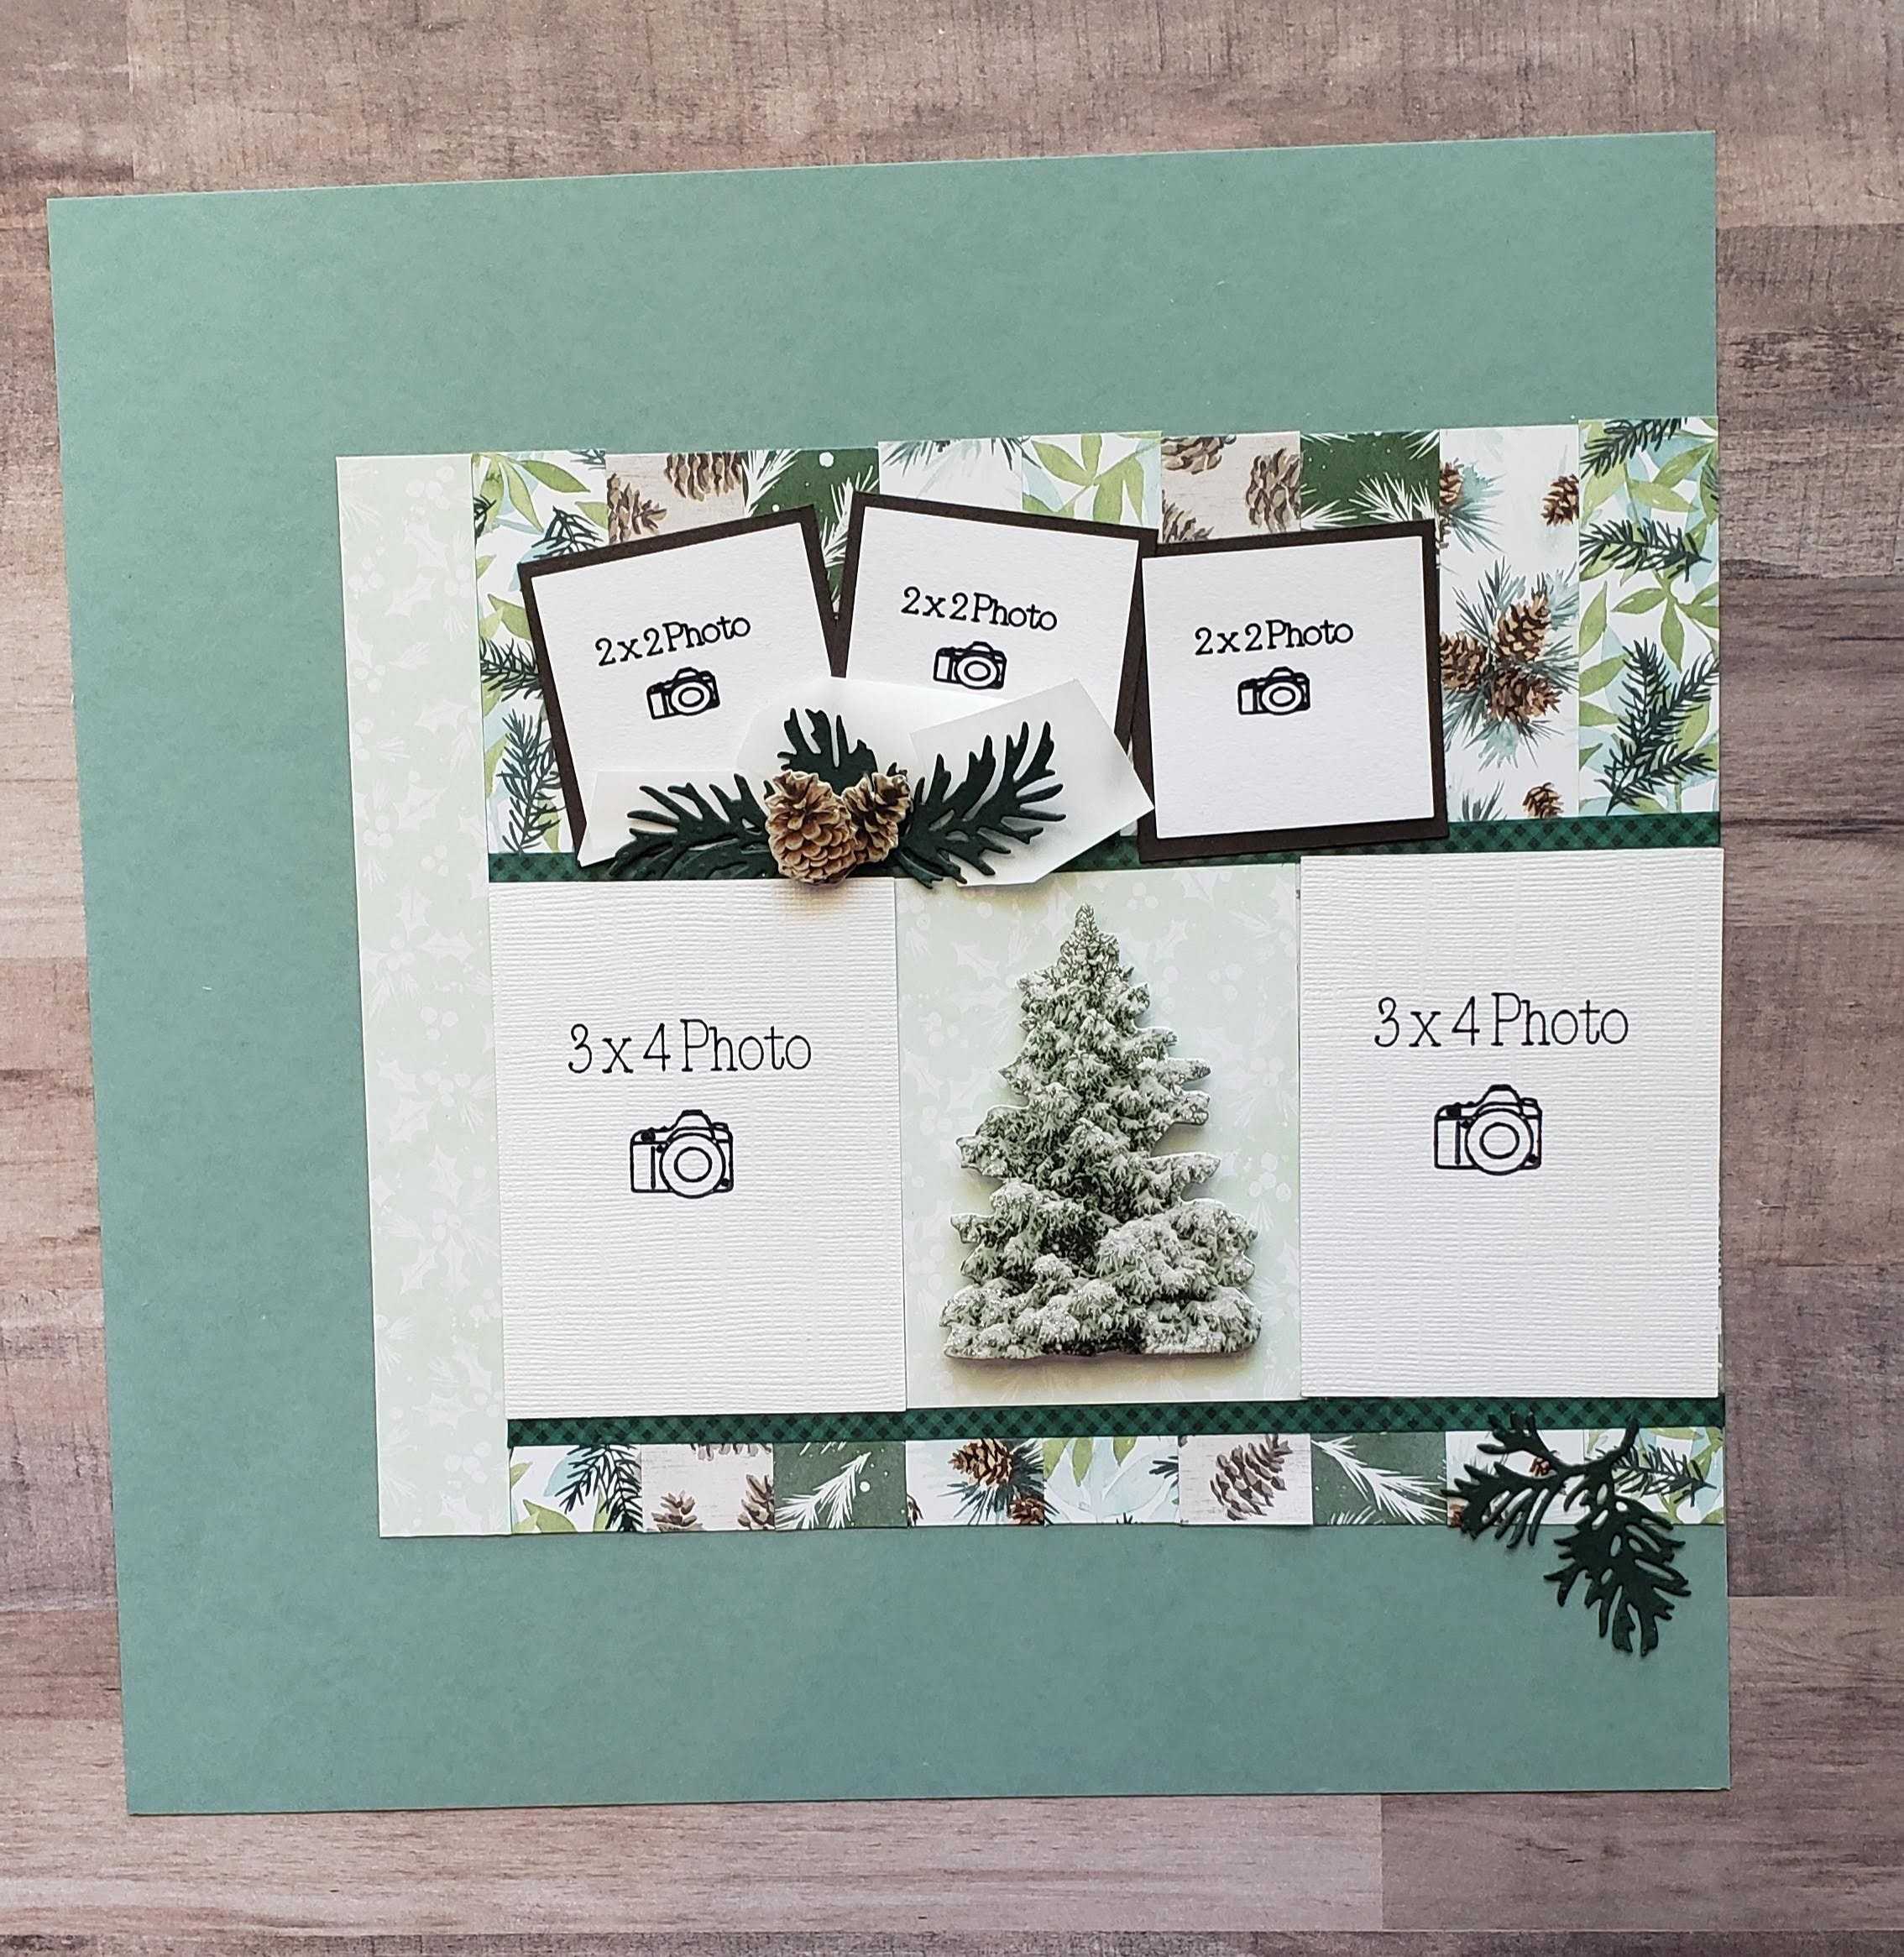
Let’s start with the left side layout. There are ten 1×8 inch strips centered on the Soft Succulent cardstock 12×12 base. The furthest strip on the left corresponds to the larger 7×8 piece on the right side layout. Once I decided on the placement of the different Stampin’ Up! Painted Christmas Designer Series Paper strips, it was simply adhering them in place. I pulled out my photo holders and placed them approximately in line with the template sketch and the search began for the two horizontal strips I needed. I pulled out my washi tape and found exactly what I was looking for.
Next came the 2×2 photo holders, which were backed with Early Espresso cardstock cut in 2-1/4 squares. The rest of the embellishments came from my stash, along with cutting additional pine boughs from the retired Stampin’ Up! Beautiful Boughs dies, cut from Evening Evergreen cardstock. The sketch showed a spot without a photo, so in went my Christmas tree, once again from my voluminous stash of Christmas stuff, placed on the coordinating Designer Series Paper.
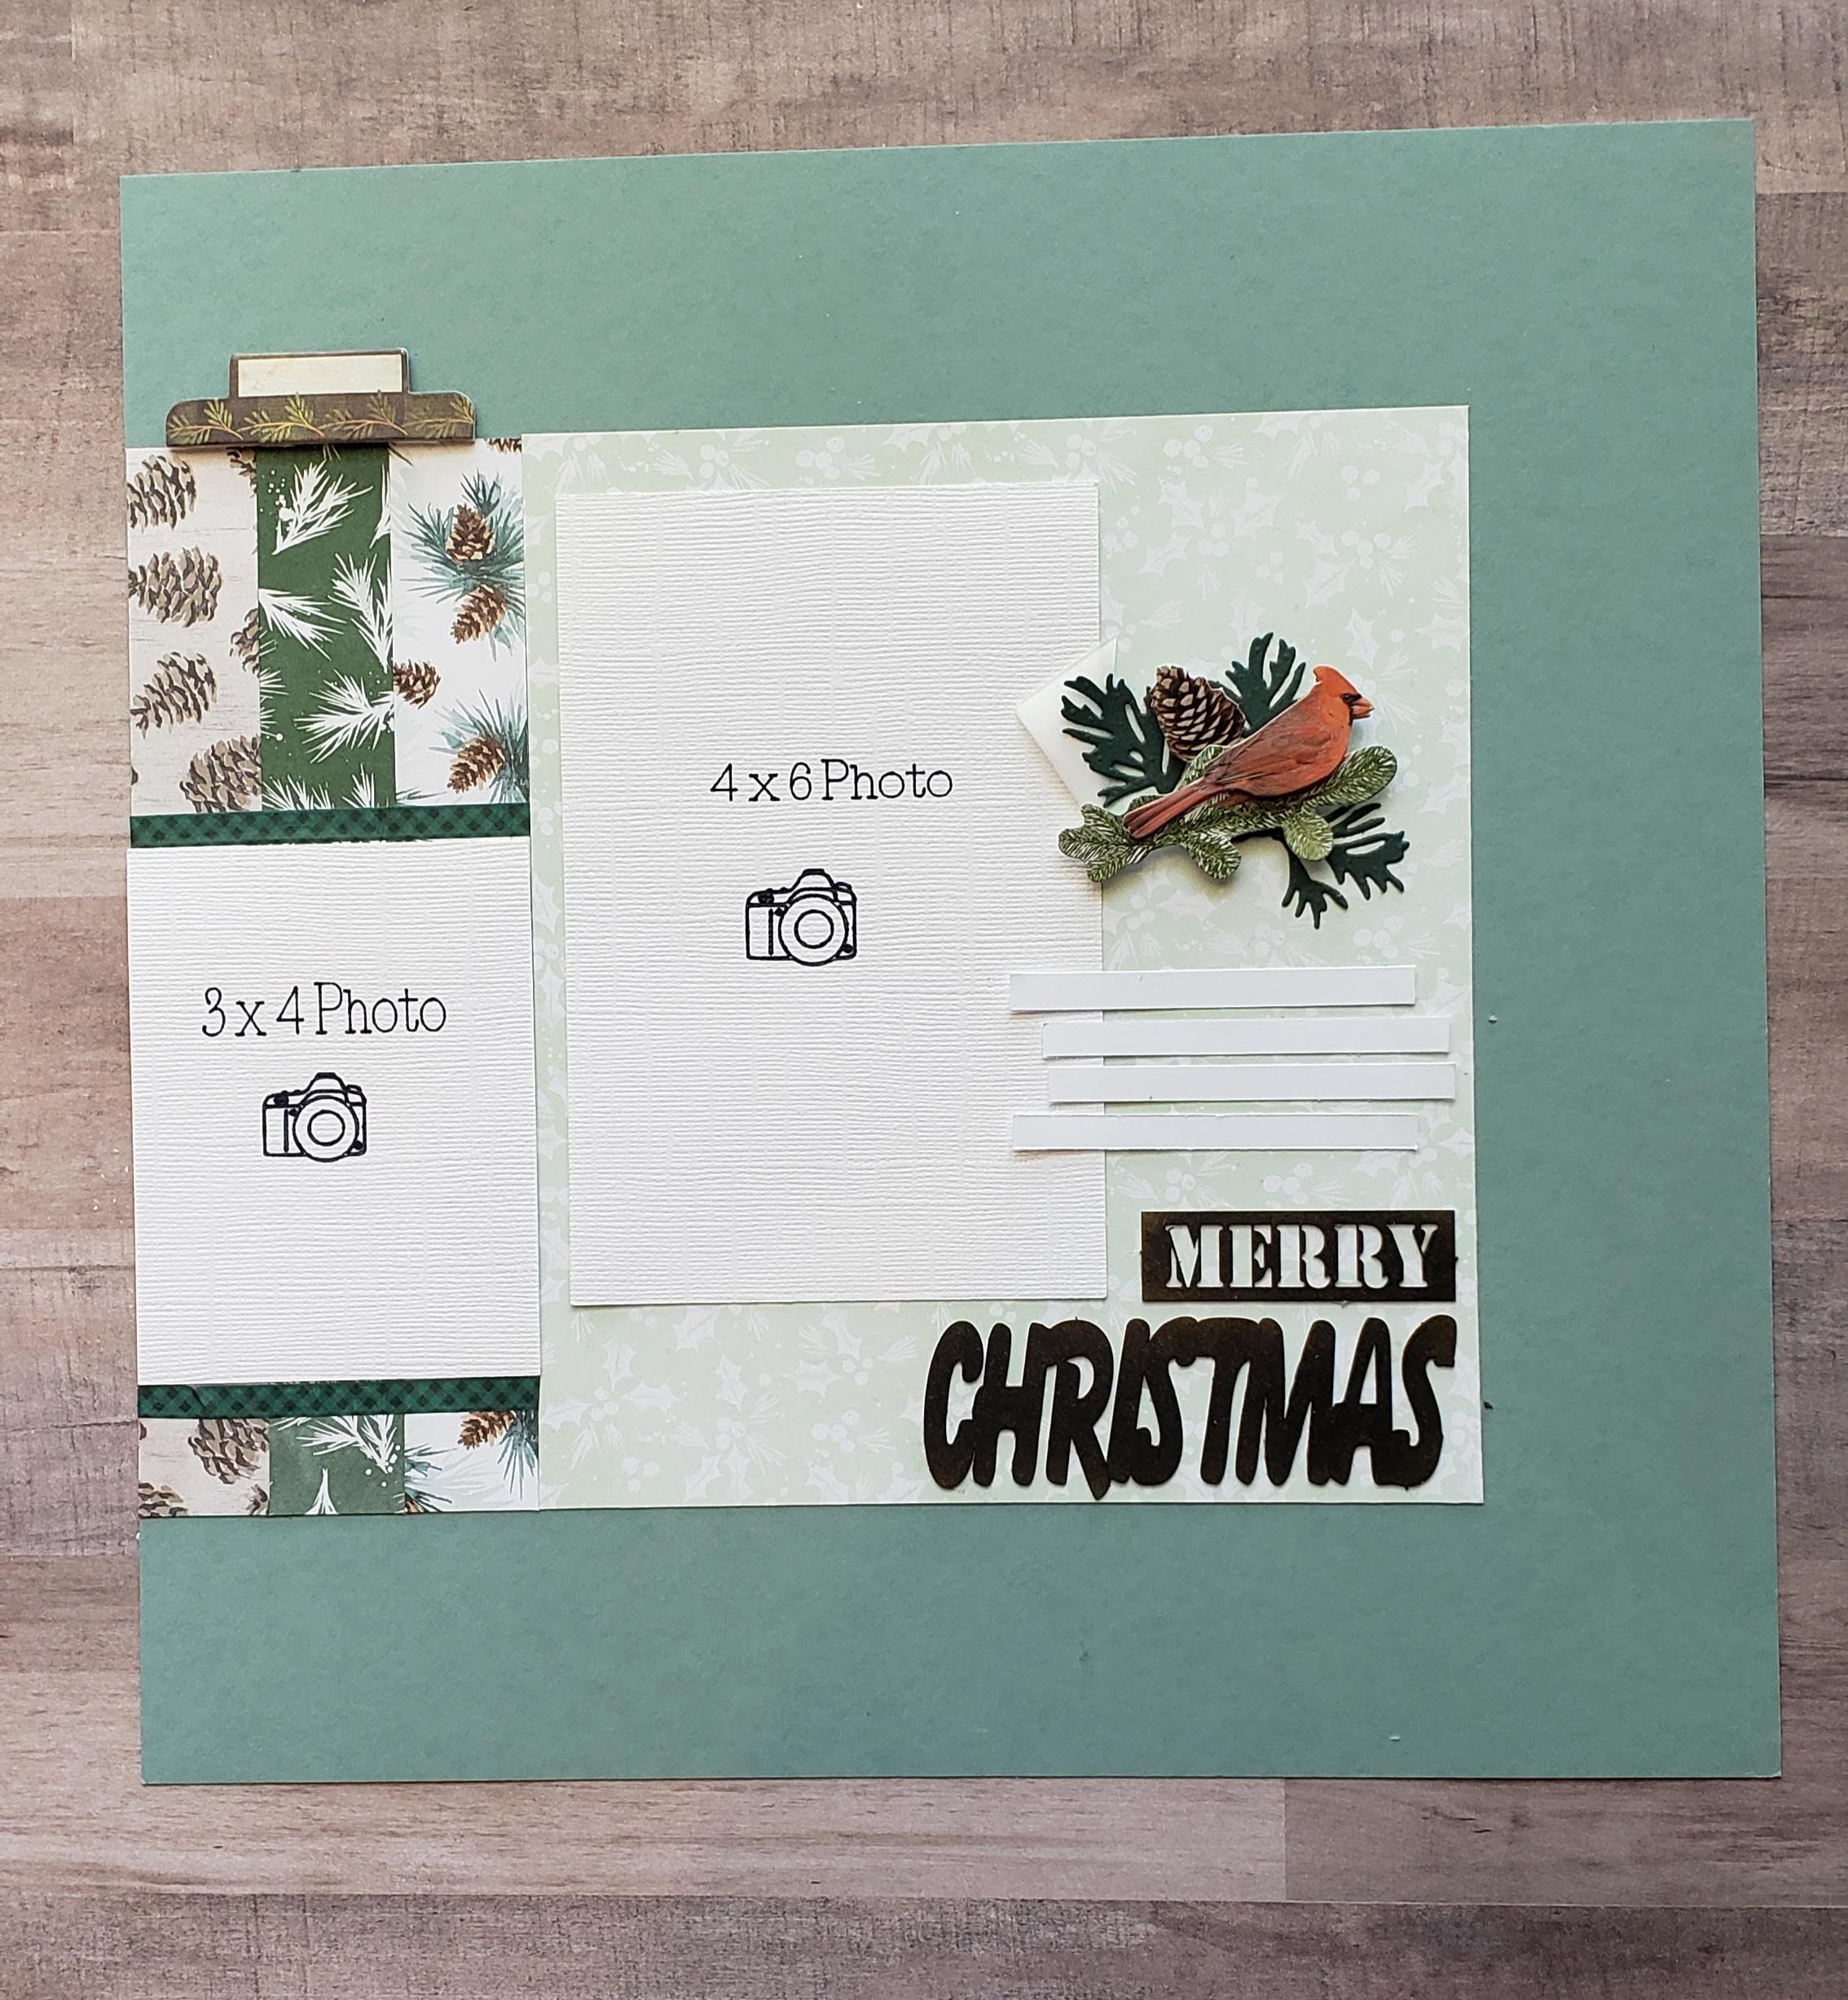
This right side layout was a continuation of the 1×8 strips and then the adhering of the 7×8 larger piece. Easy peasy! Of course, I stuck my 3×4 photo holder down and continued with the washi tape. I found the “merry Christmas” pieces in my stash. These were made out of chipboard type material and I used my Early Espresso ink pad, along with my brushes, to make them in a coordinating color. Finally my 4×6 photo holder went on and the additional embellishments of the cardinal and the file tab, also from my stash.
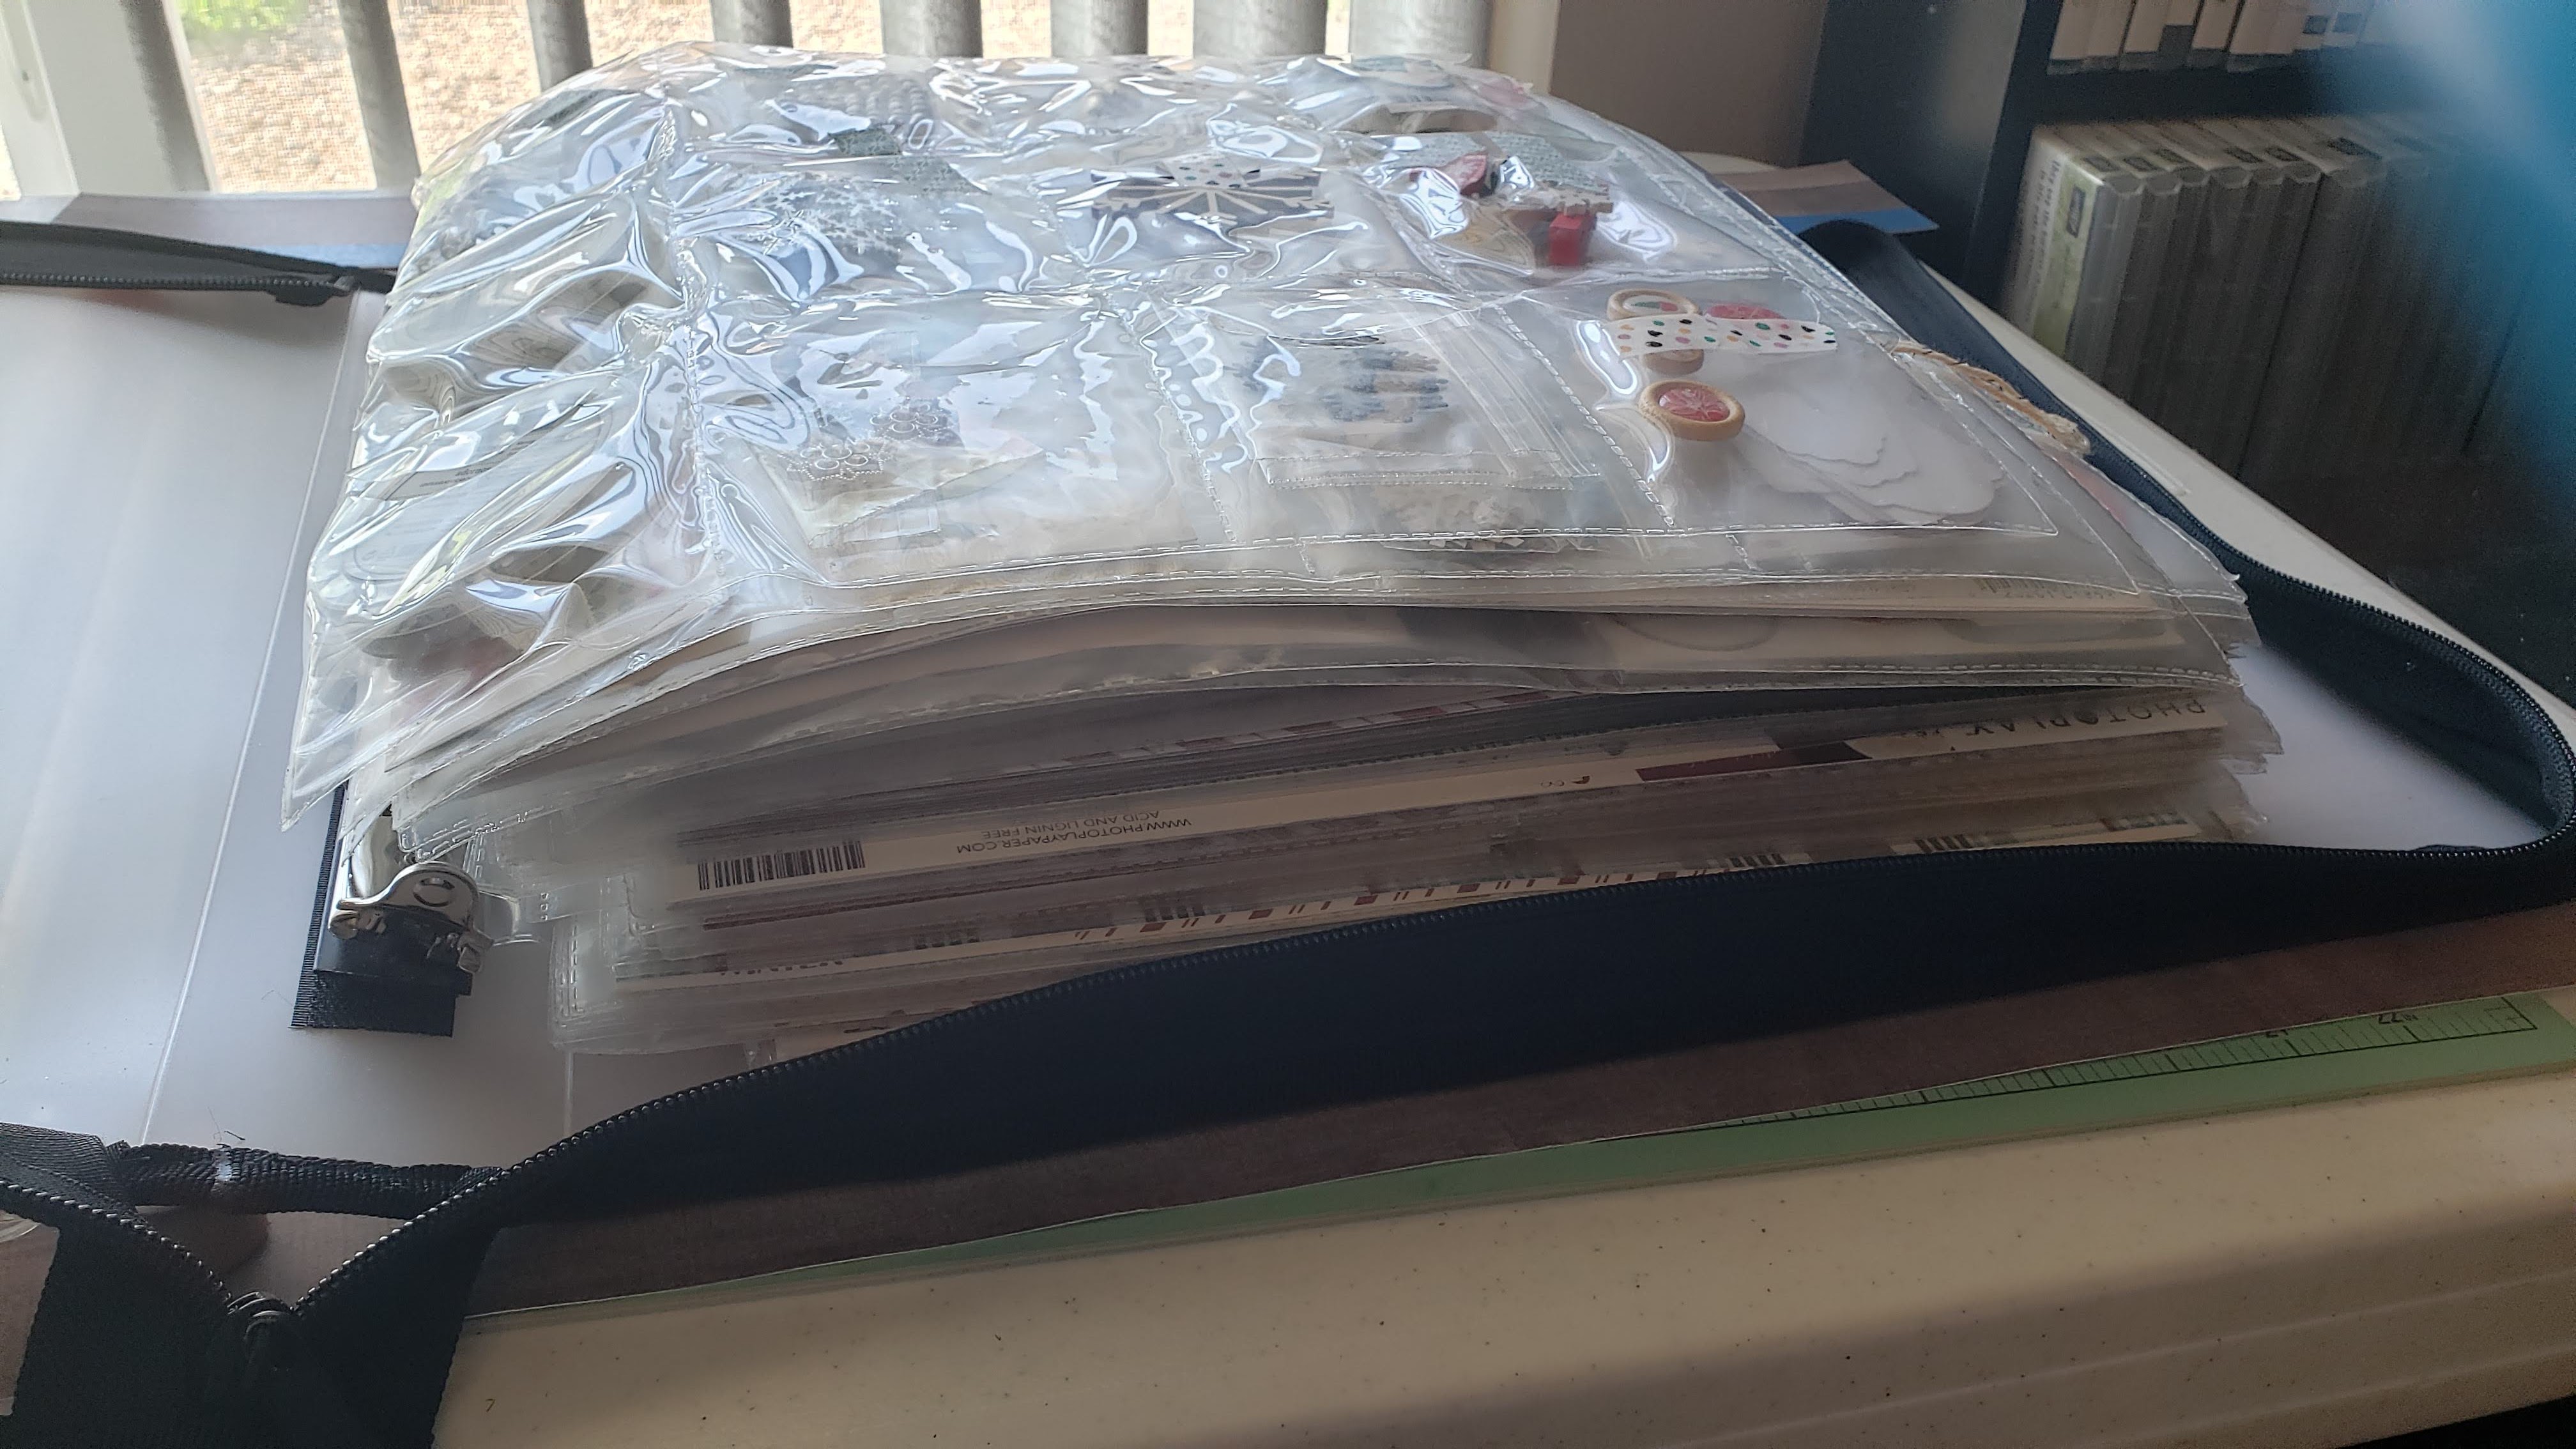
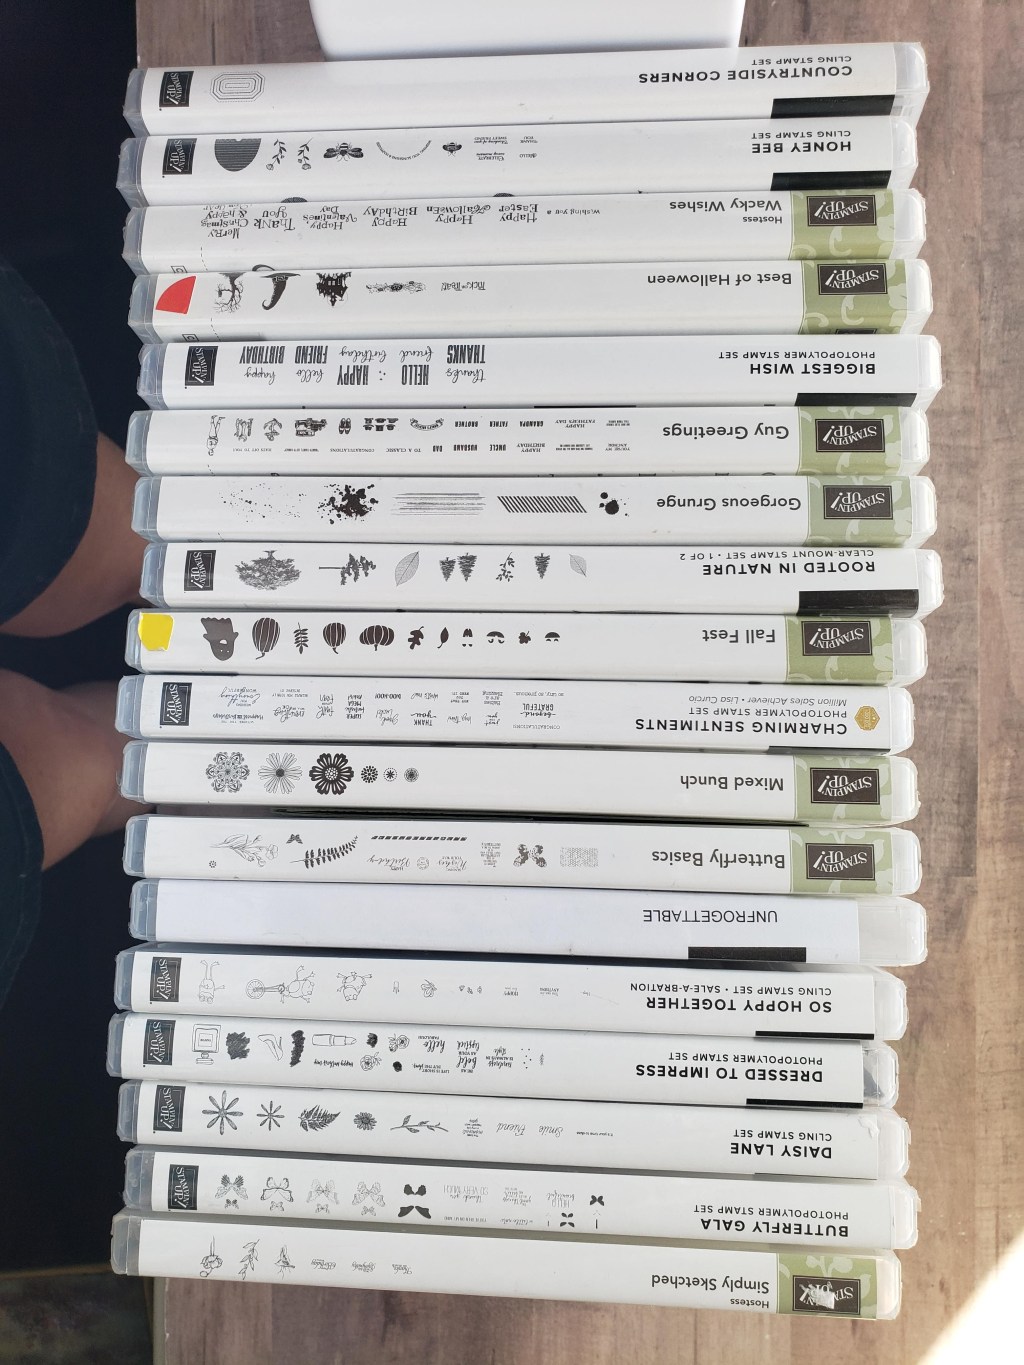
I thought I would show you how embarrassing my collection of winter/Christmas papers and embellishments are. This Totally Tiffany binder is so full I can’t stick one more thing in it. In fact, the last few pages are just stuck in the back since the rings could hold no more. Needless to say, it weighs a ton and I have enough “stuff” to create Christmas cards and layouts for years to come. It was one thing when all of these various papers and embellishments were strewn across my craft room in different spots. Putting it all in one binder was rather illuminating! My autumn/fall/Halloween binder is just as bad! I will finish up the package of Painted Christmas Designer Series Paper from the Mini Catalog that goes live on August 3, 2021. But after that, I’m going to tackle Christmas cards using some of this retired stuff. Although I did see my cute retired Santa Signpost paper, stamp set and dies when flipping through my binder, and this exact sketch would make a totally different looking page using it. Also, I would use more 4×6 photos instead of the smaller ones.
The only thing I would do differently on my original layout is add the stitching along the edges as shown in the template. I already had my “merry Christmas” placed before I realized I had forgotten that part and wasn’t sure I would like the faux stitching if it interfered with my title. I also don’t really care for the journaling strips but instead might use the 2×2 photo areas for journaling instead. Hopefully when photos actually get on these pages, I will remember to show you the “final” project.
Check out Susanne’s blog and see what she came up with. Keep scrappin’ and stampin’!