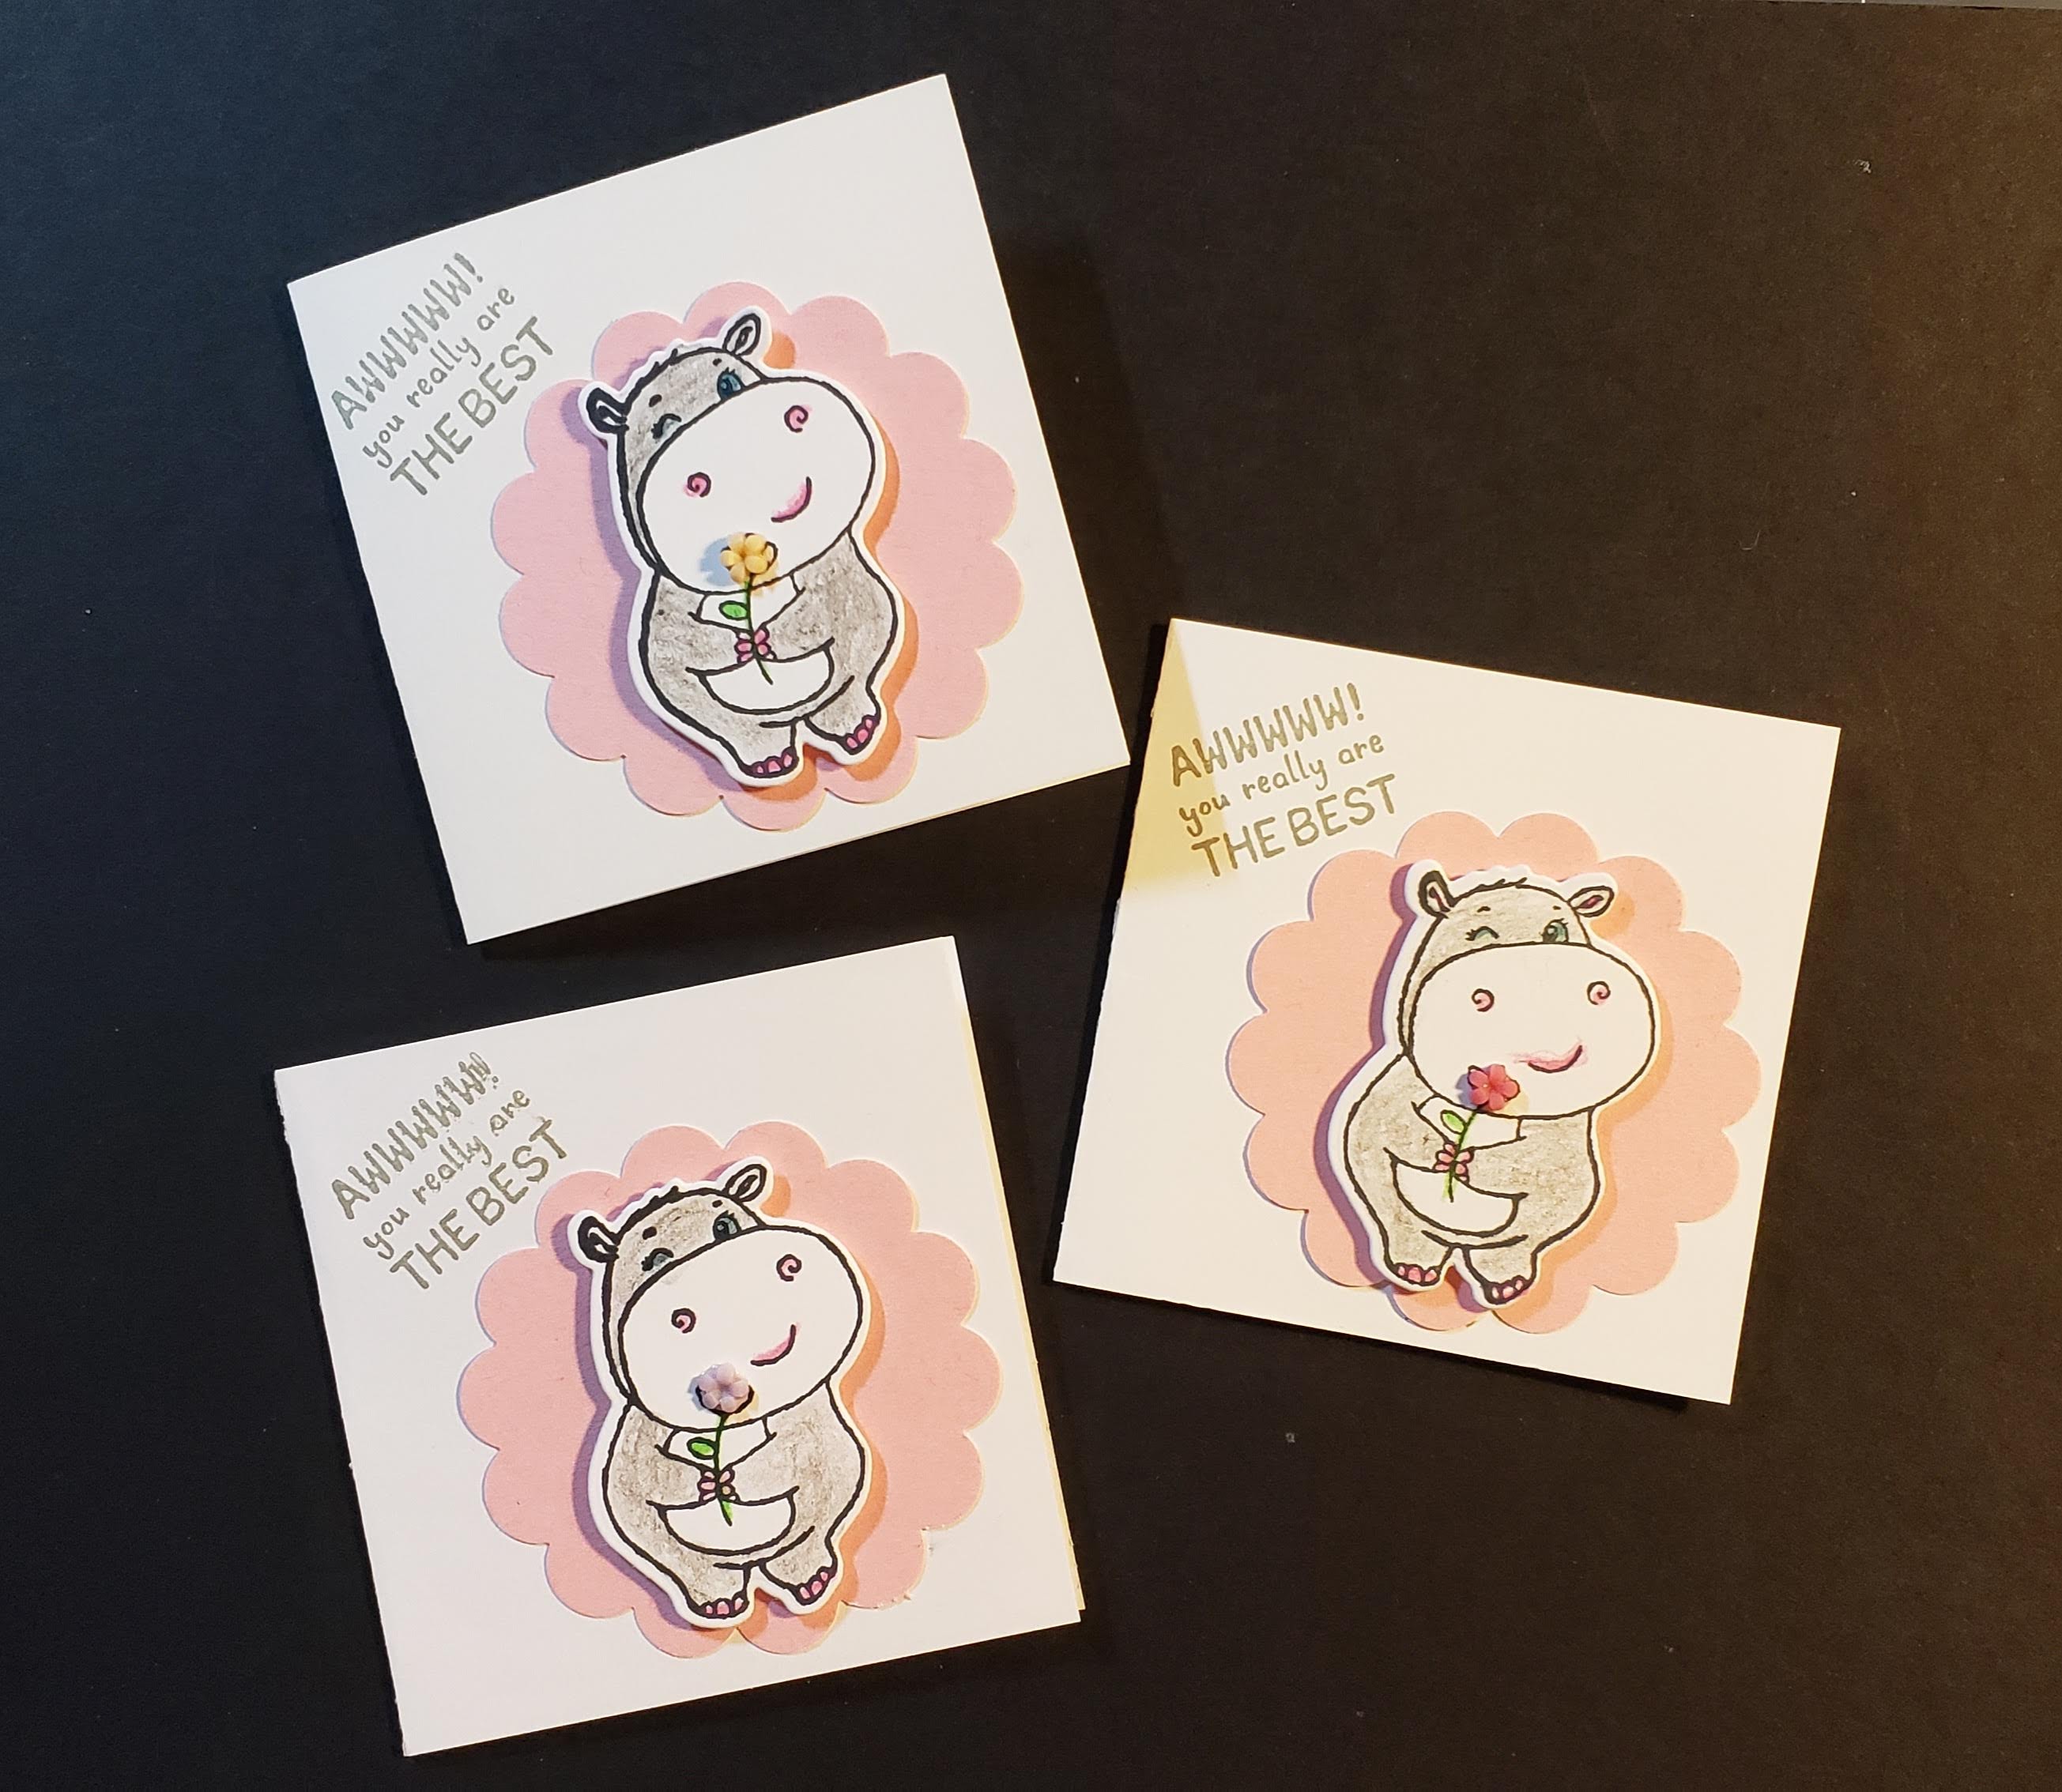
I needed a few more of these cute 3×3 cards to add to my travel bag. I use these to leave a tip for housekeeping when we spend the night at hotels. I probably should have left one at my sis’s-in-law house the last time we visited. She is definitely the “hostess with the mostest”! But, moving on, I wanted to show you my trick when stamping and then using the Stamparatus and framelit to cut out the image. First, though, I cut the base card at 6×3 and scored it in the middle. I used a 2-3/8″ scallop circle punch for the pink scallop, and then colored in my hippo using watercolor pencils. I added a flower from the Loose Flower Flourishes from Stampin’ Up!
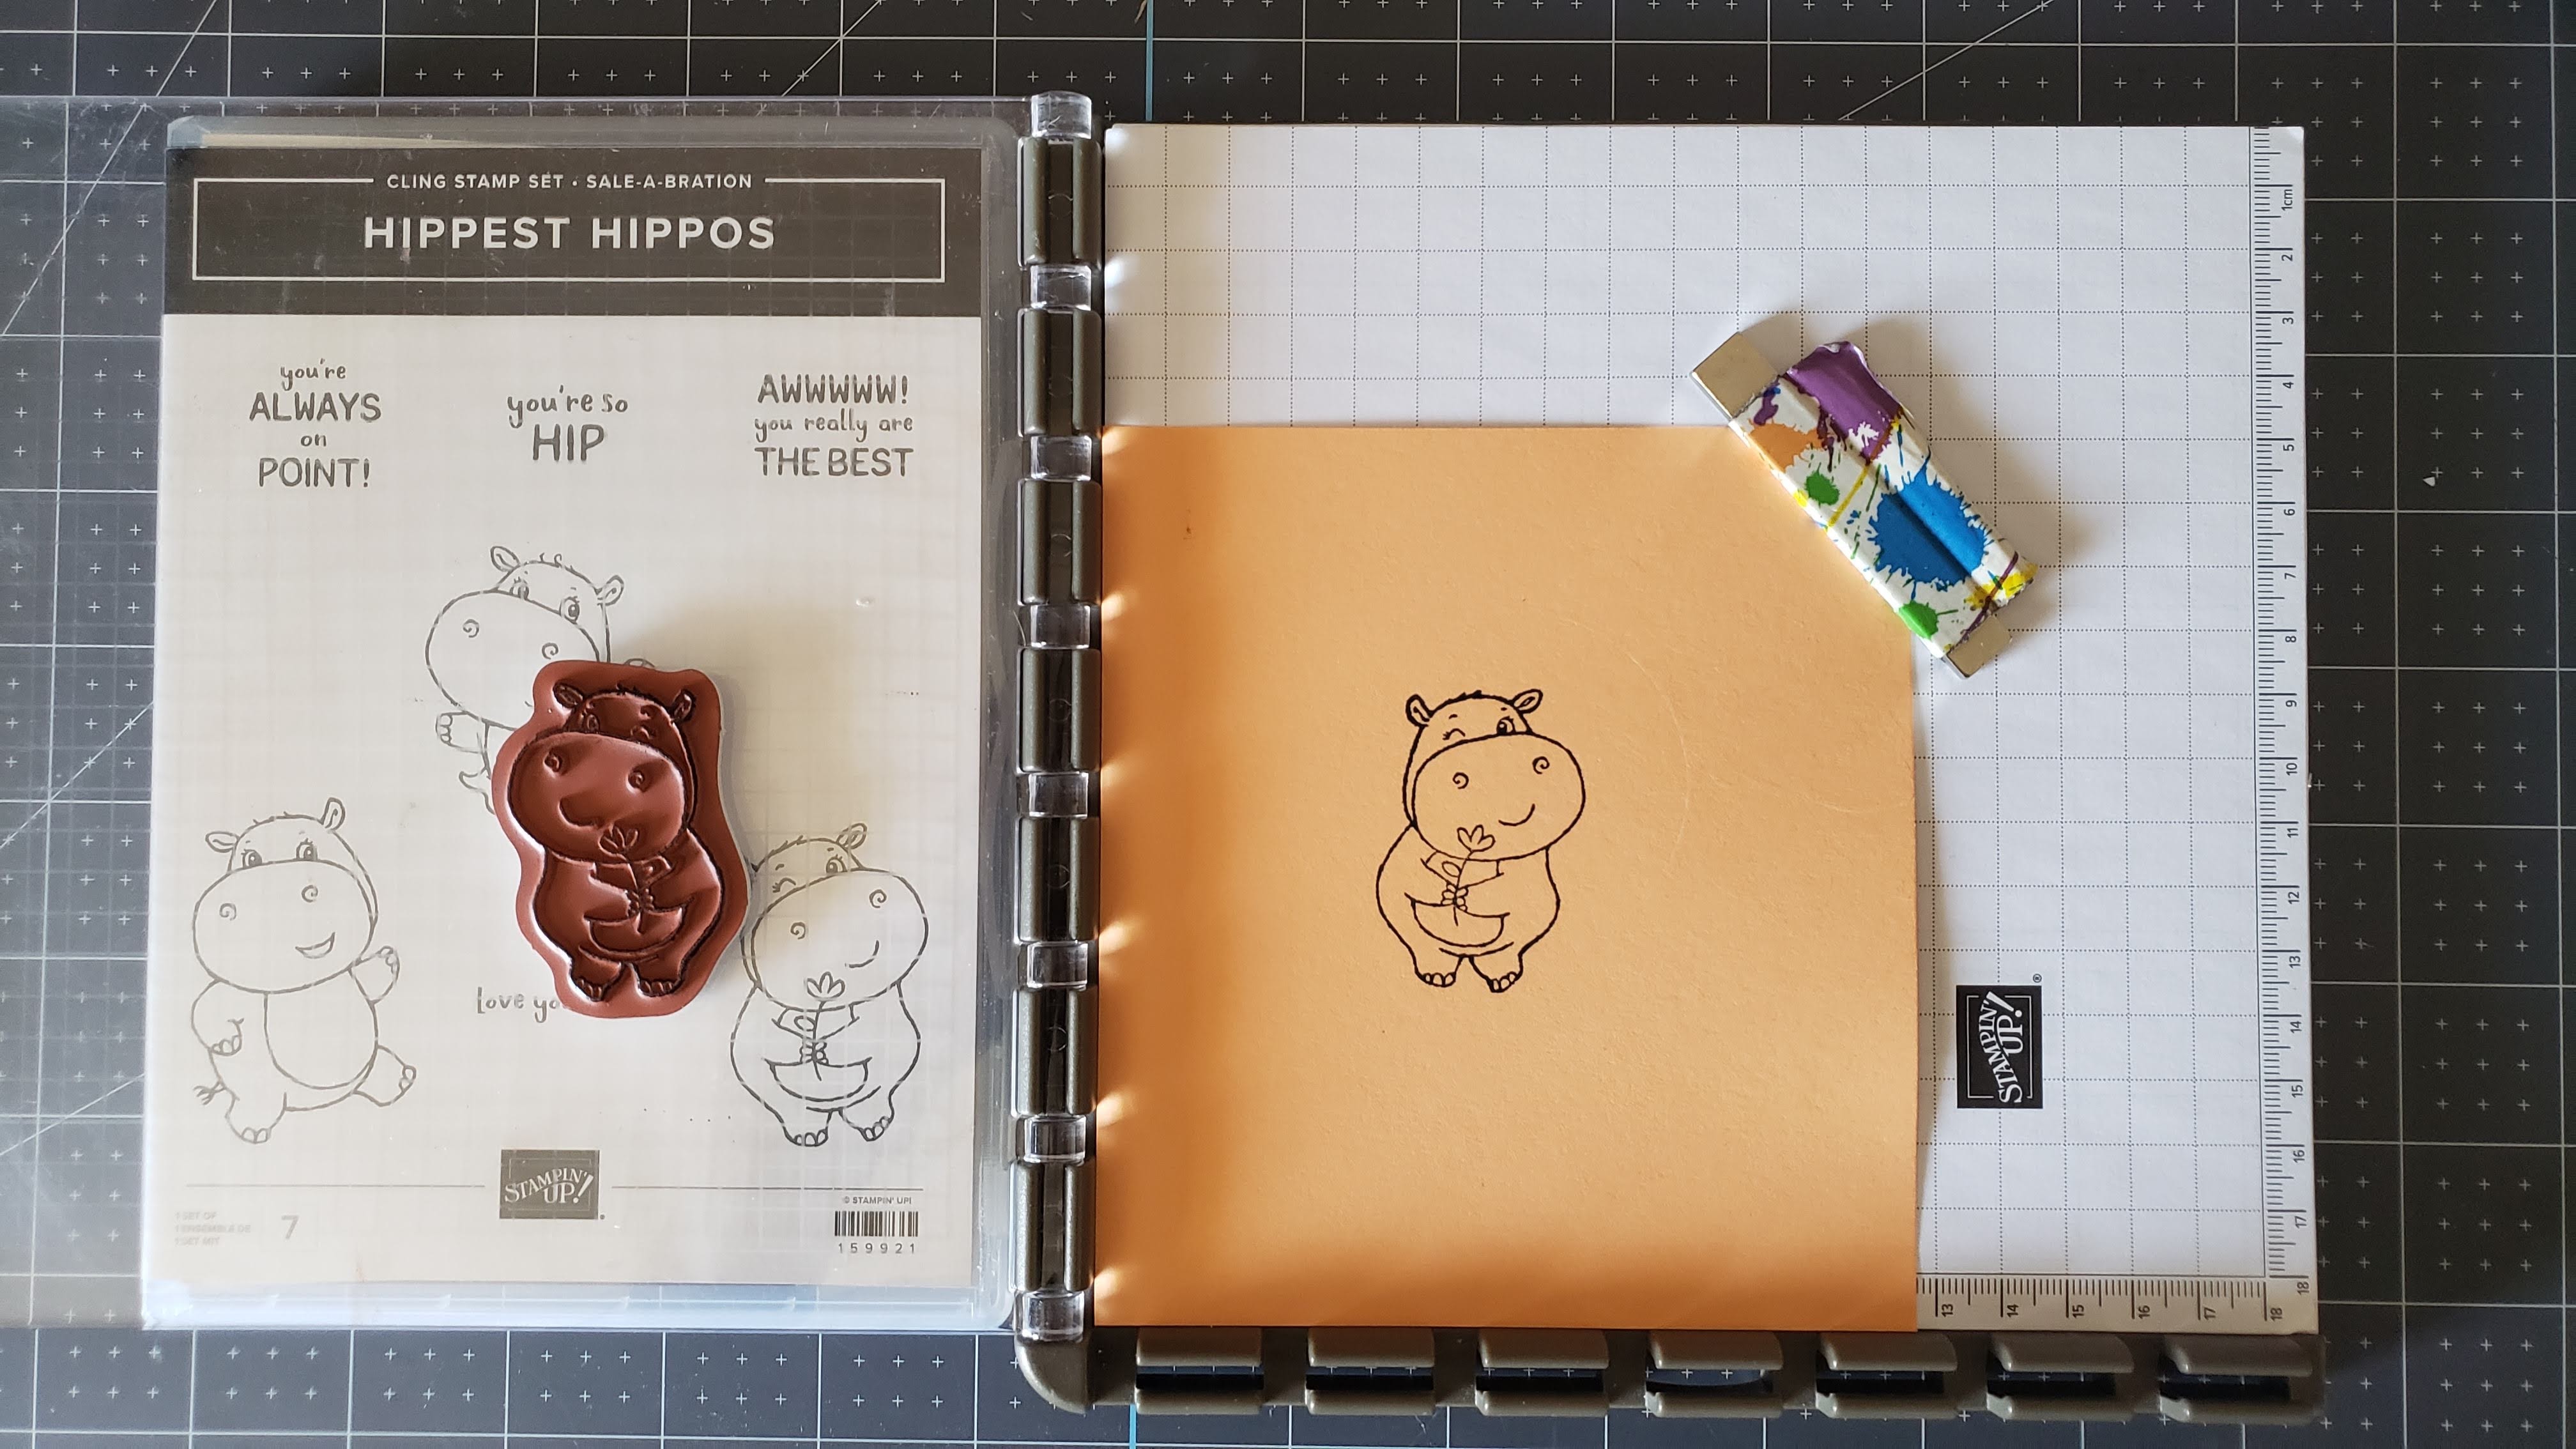
Let’s get started with my Stamparatus and a piece of scrap paper. I place my scrap paper in the Stamparatus, place the stamp on the cardstock where I want it as if I were stamping normally on the paper. I flip the top of the Stamparatus over, pick up the stamp which is now located on the “lid” of my Stamparatus and ink the stamp and stamp my image on the scrap piece of cardstock. I put my stamp set under the lid of the Stamparatus because it fits perfectly and I have a nice platform on which to add ink to my stamp.

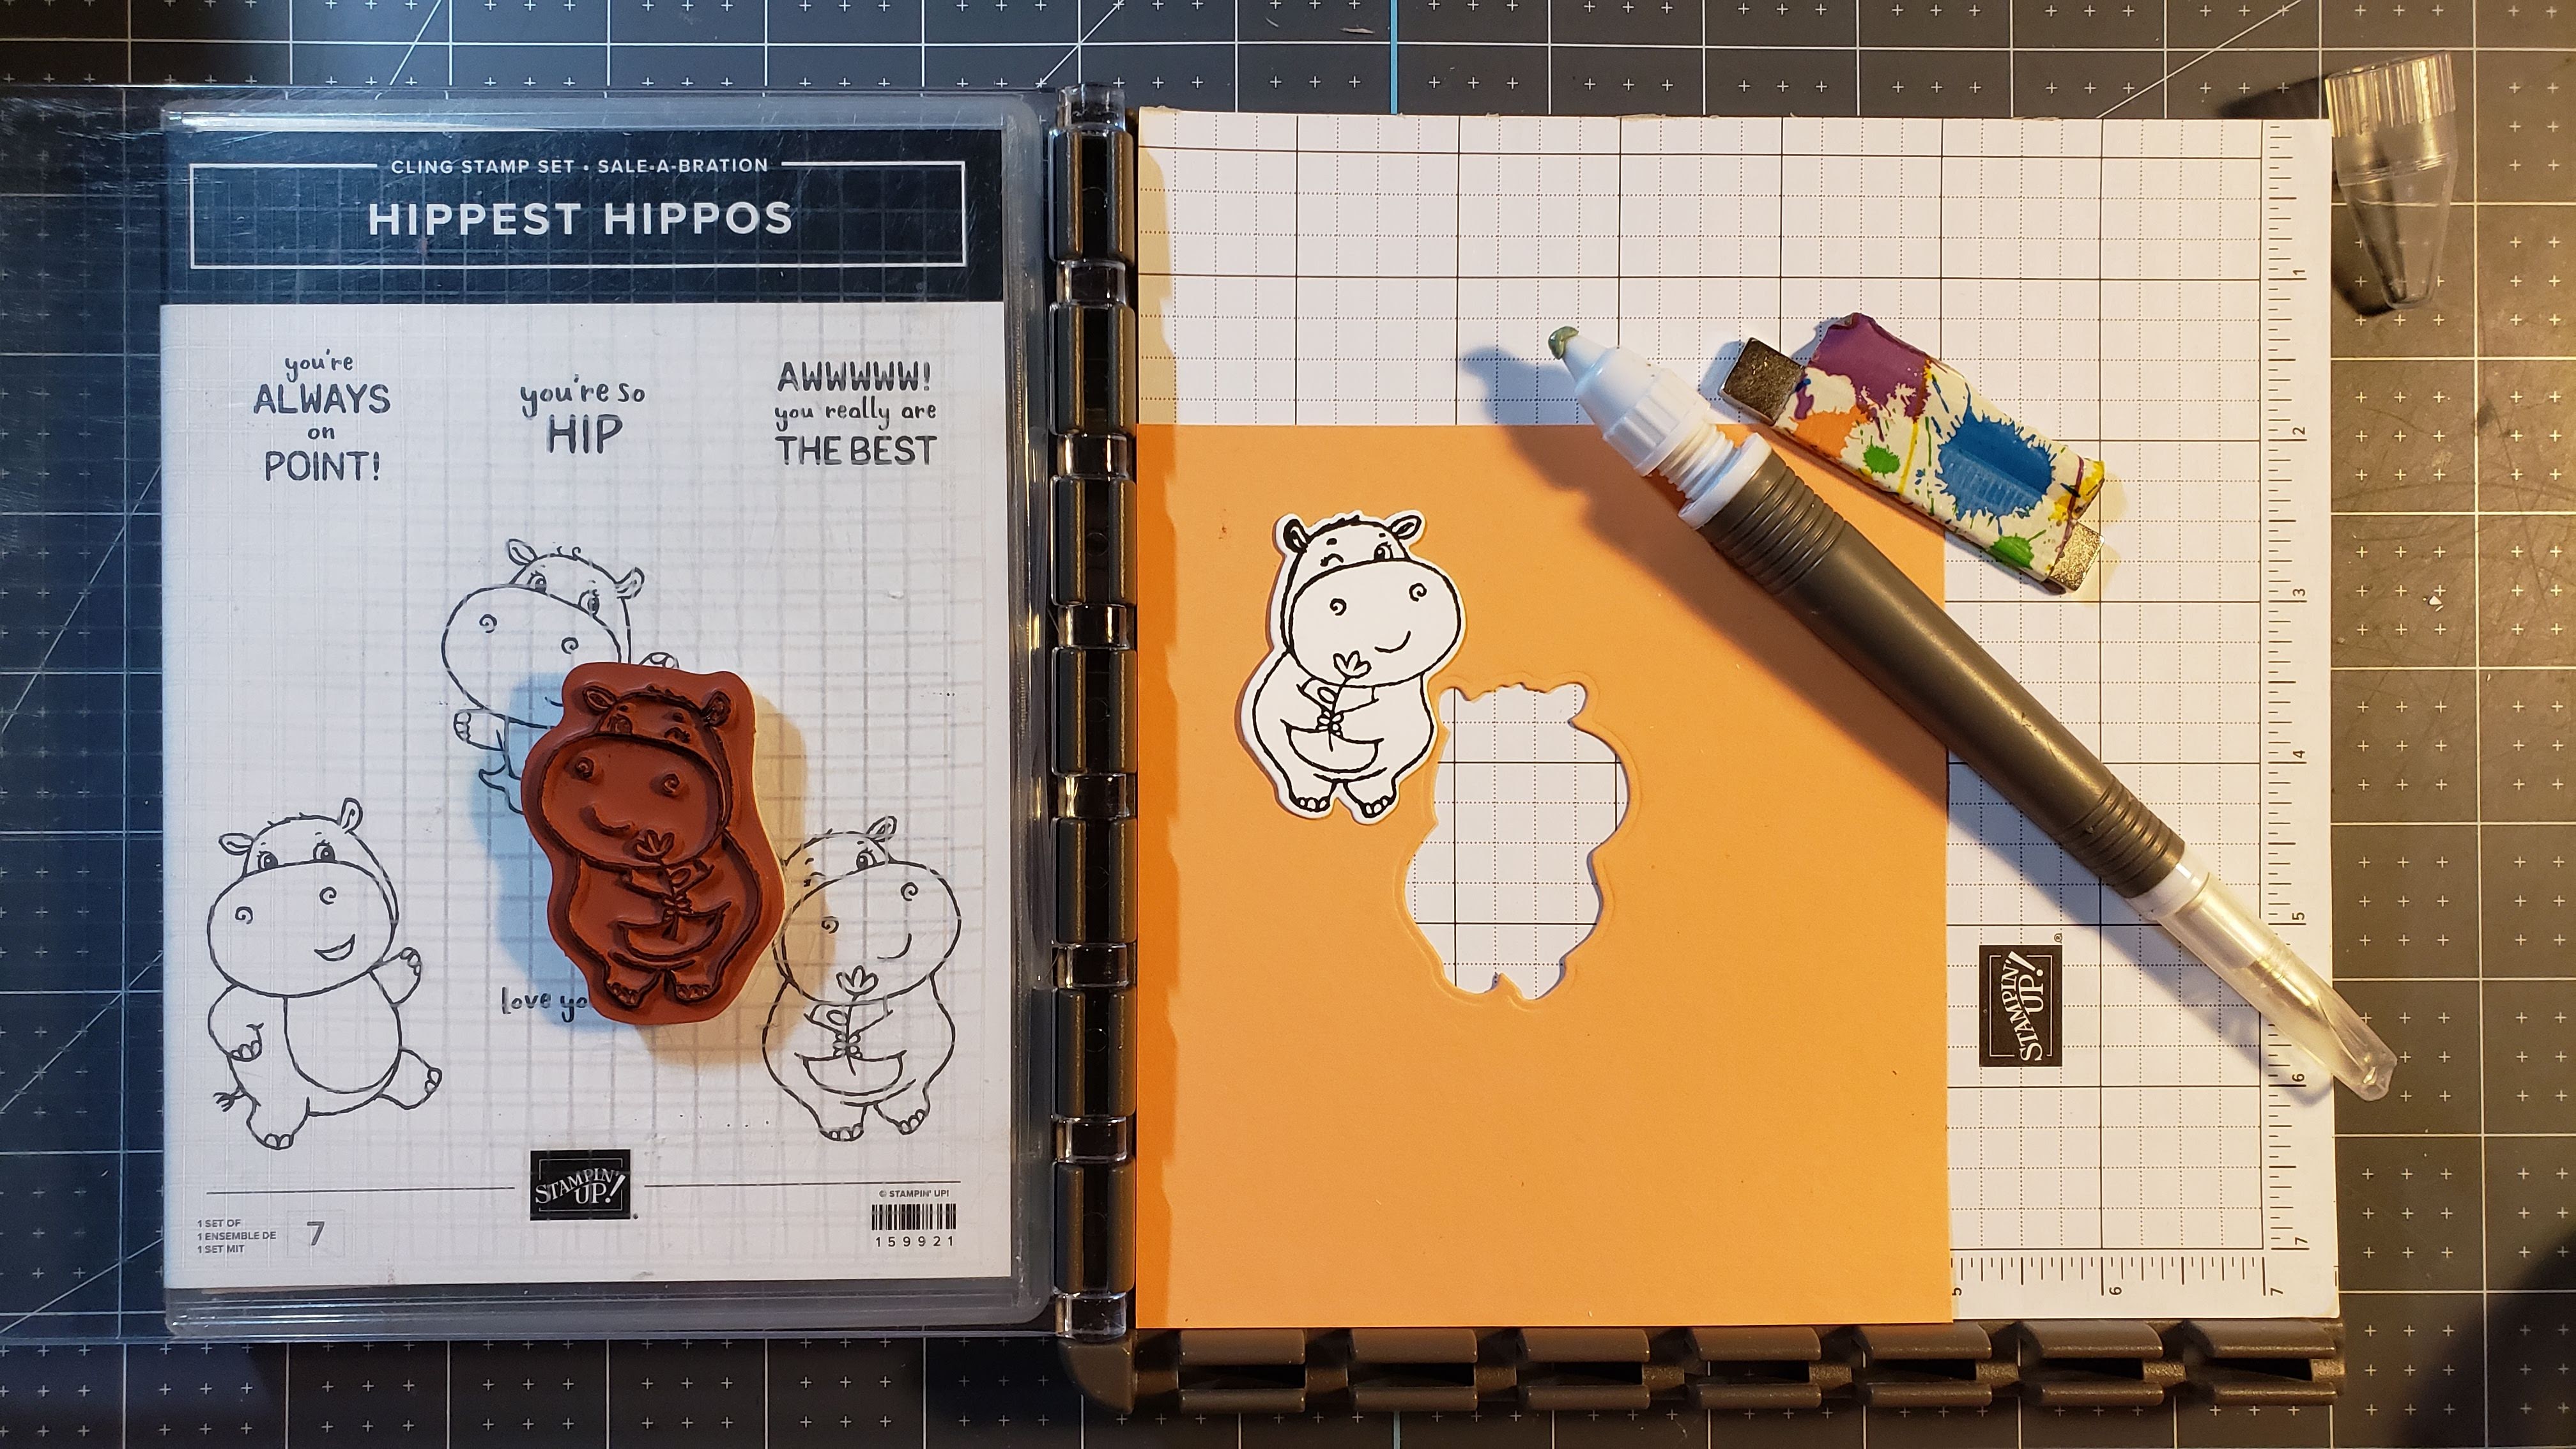
I place the image and my framelit on my Big Shot and cut out the image.
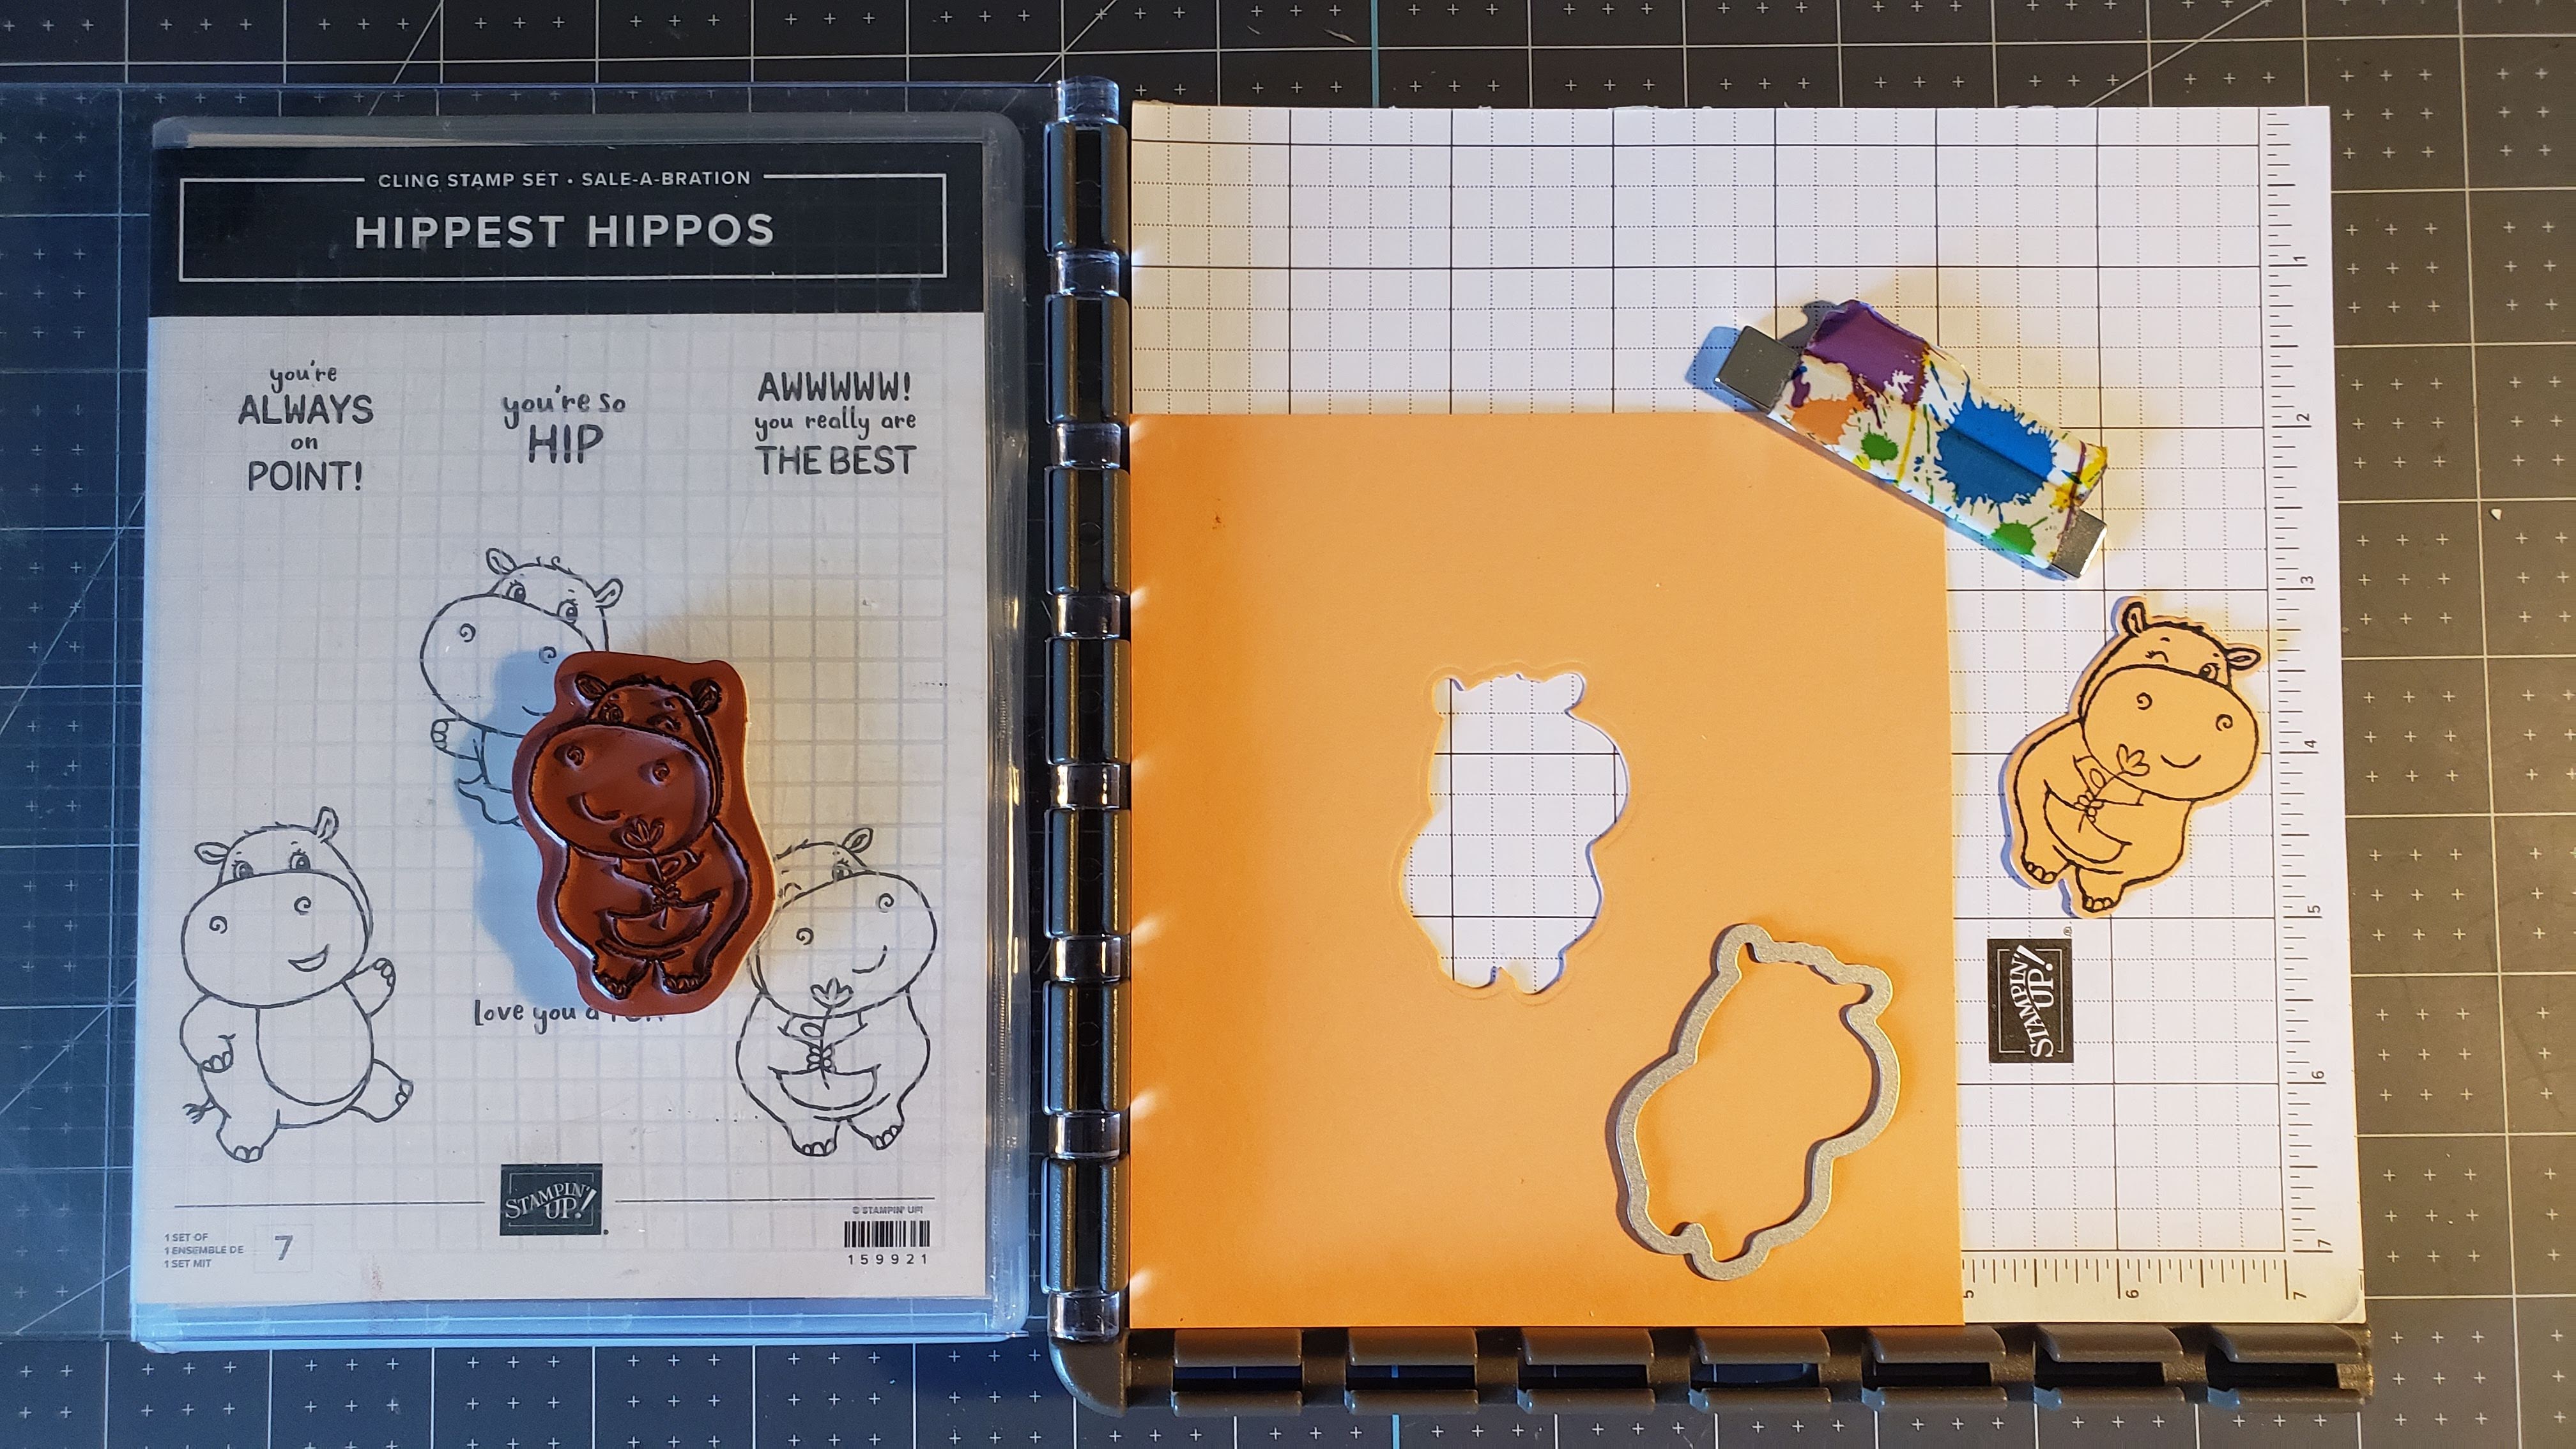
My die cut template now goes back in my Stamparatus. I’m just showing you the image that was cut and the framelit I used. Also, you may notice my magnet to hold my paper in place. I use fancy Duck Tape and wrap it around my magnet, leaving a little tab. This allows me to easily find my magnet and much easier to place it on the Stamparatus.
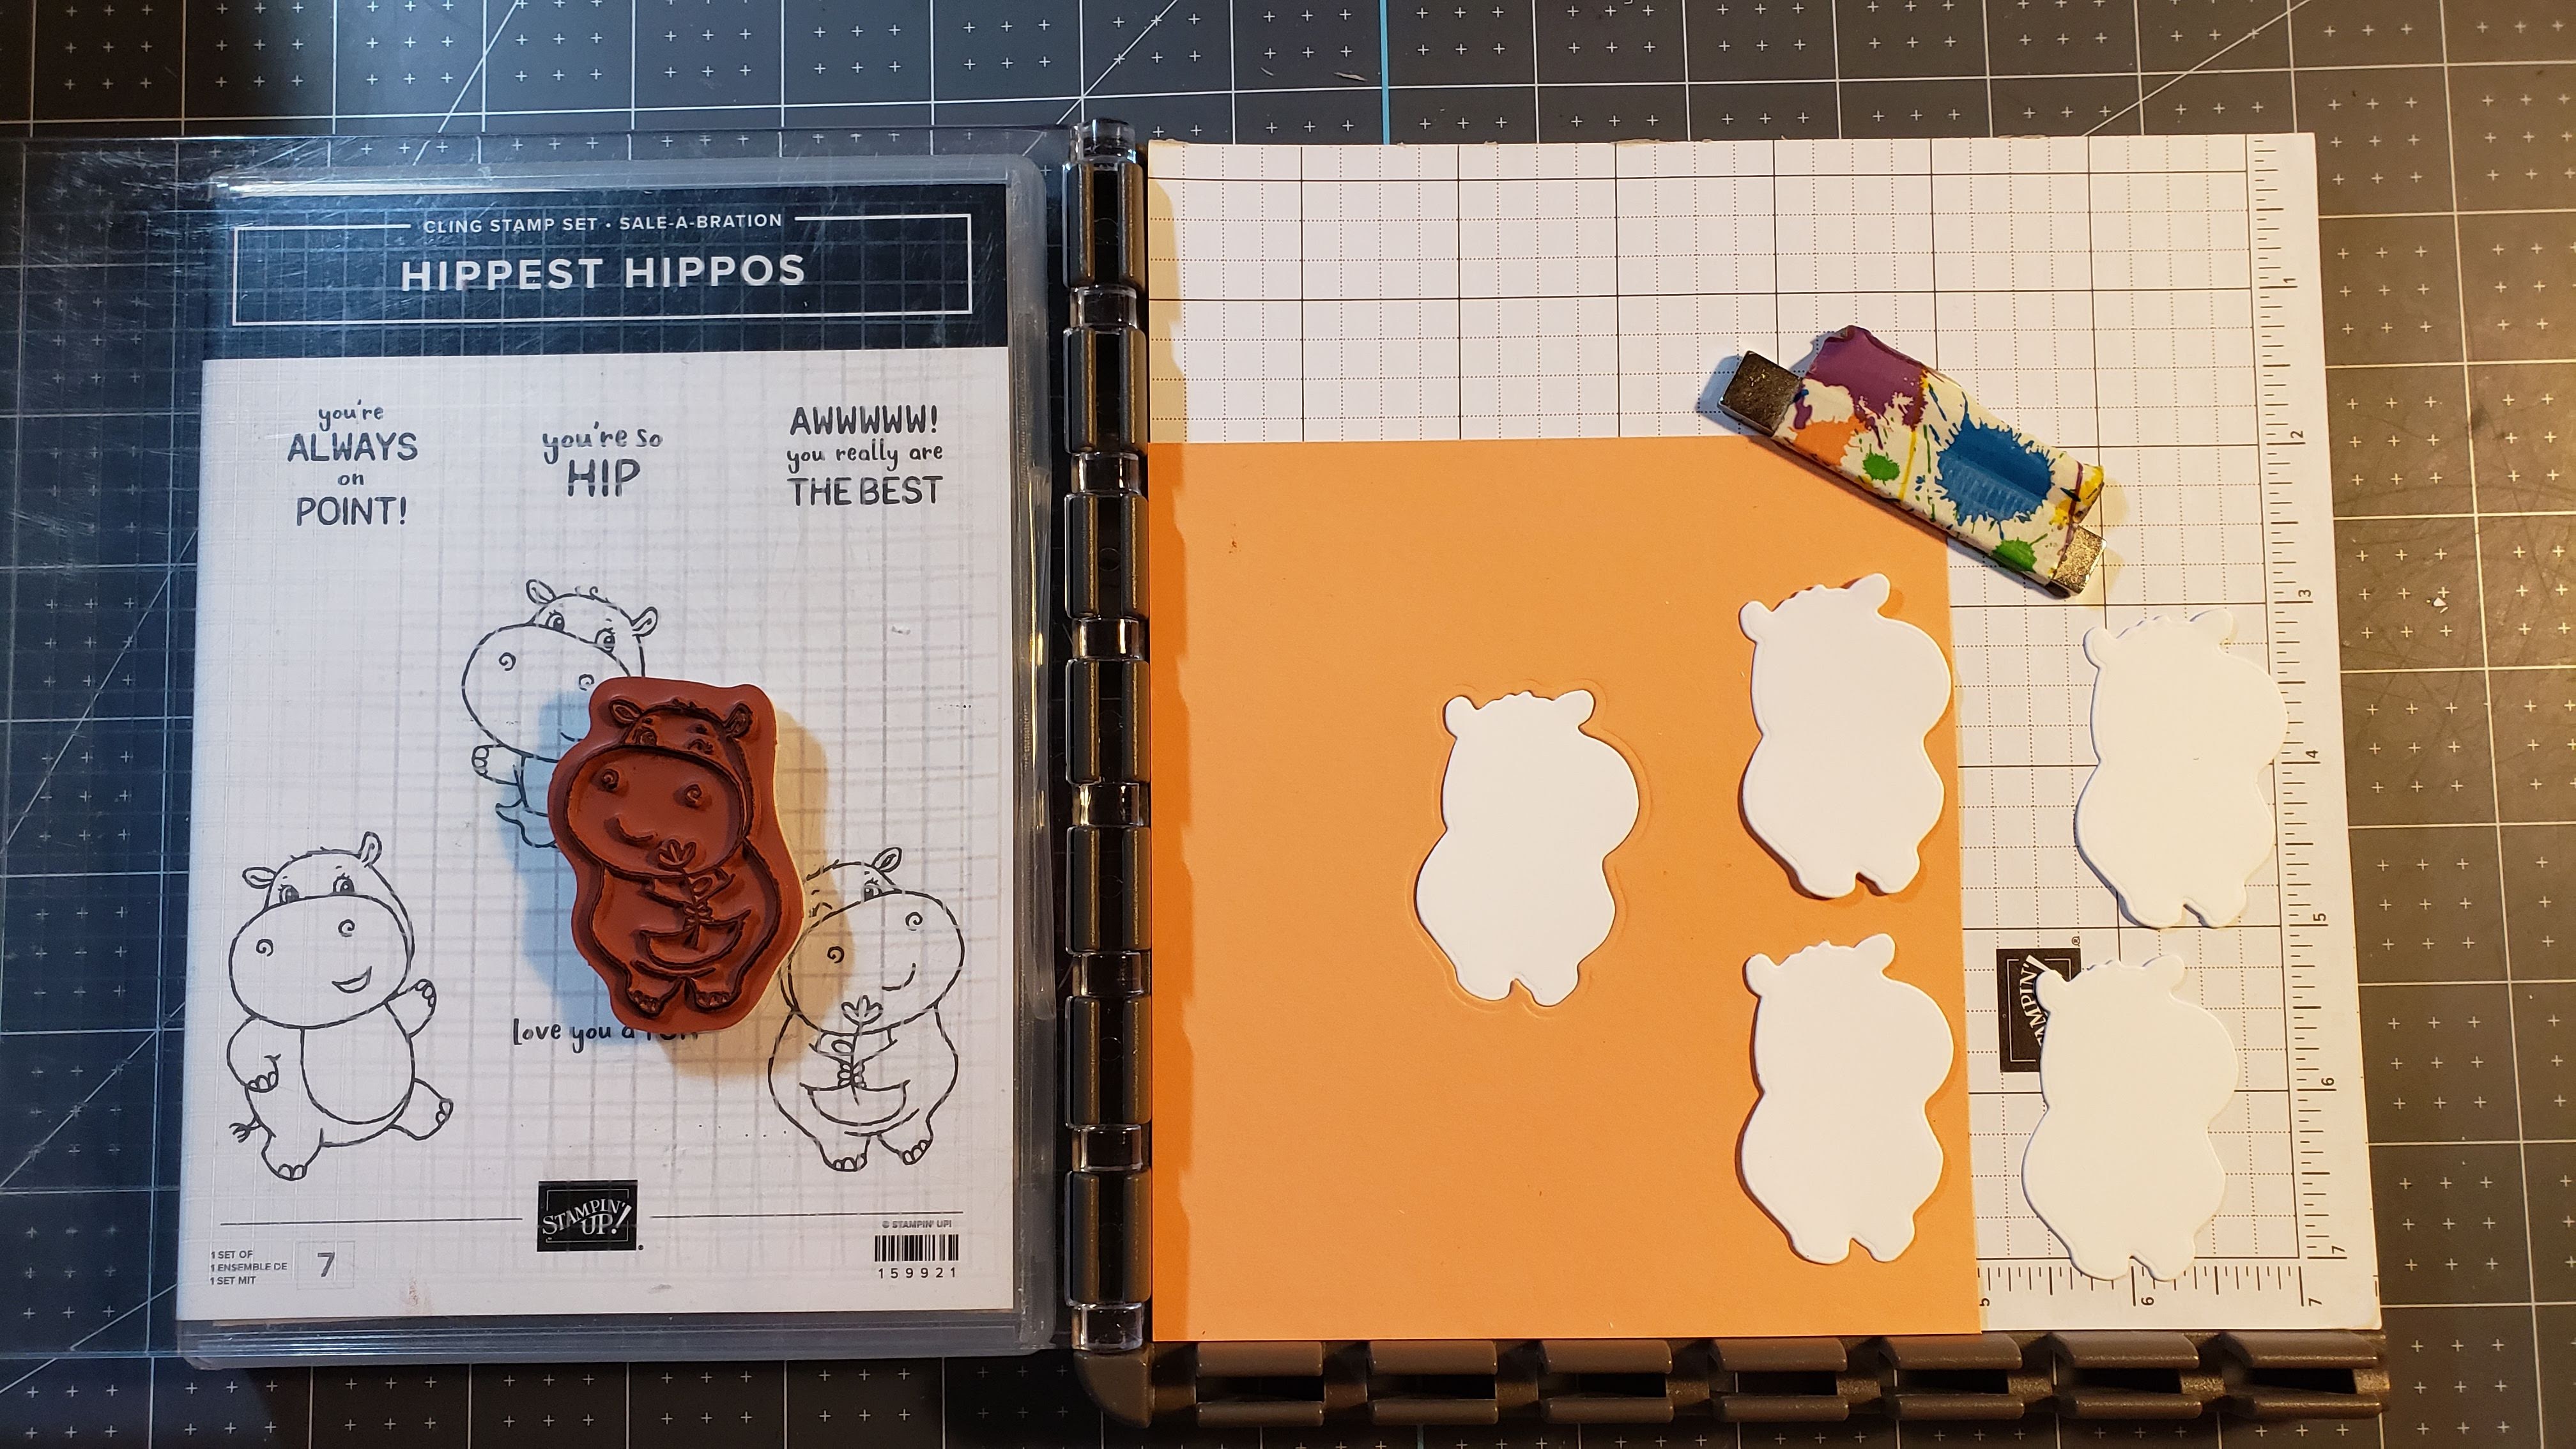
Now comes the fun part. As you can see, I’ve cut several pieces of the hippo die on scrap white paper just to show you. I’ve inserted one of them in my template.
I’ve inked my stamp and flipped the “lid” over onto the template.

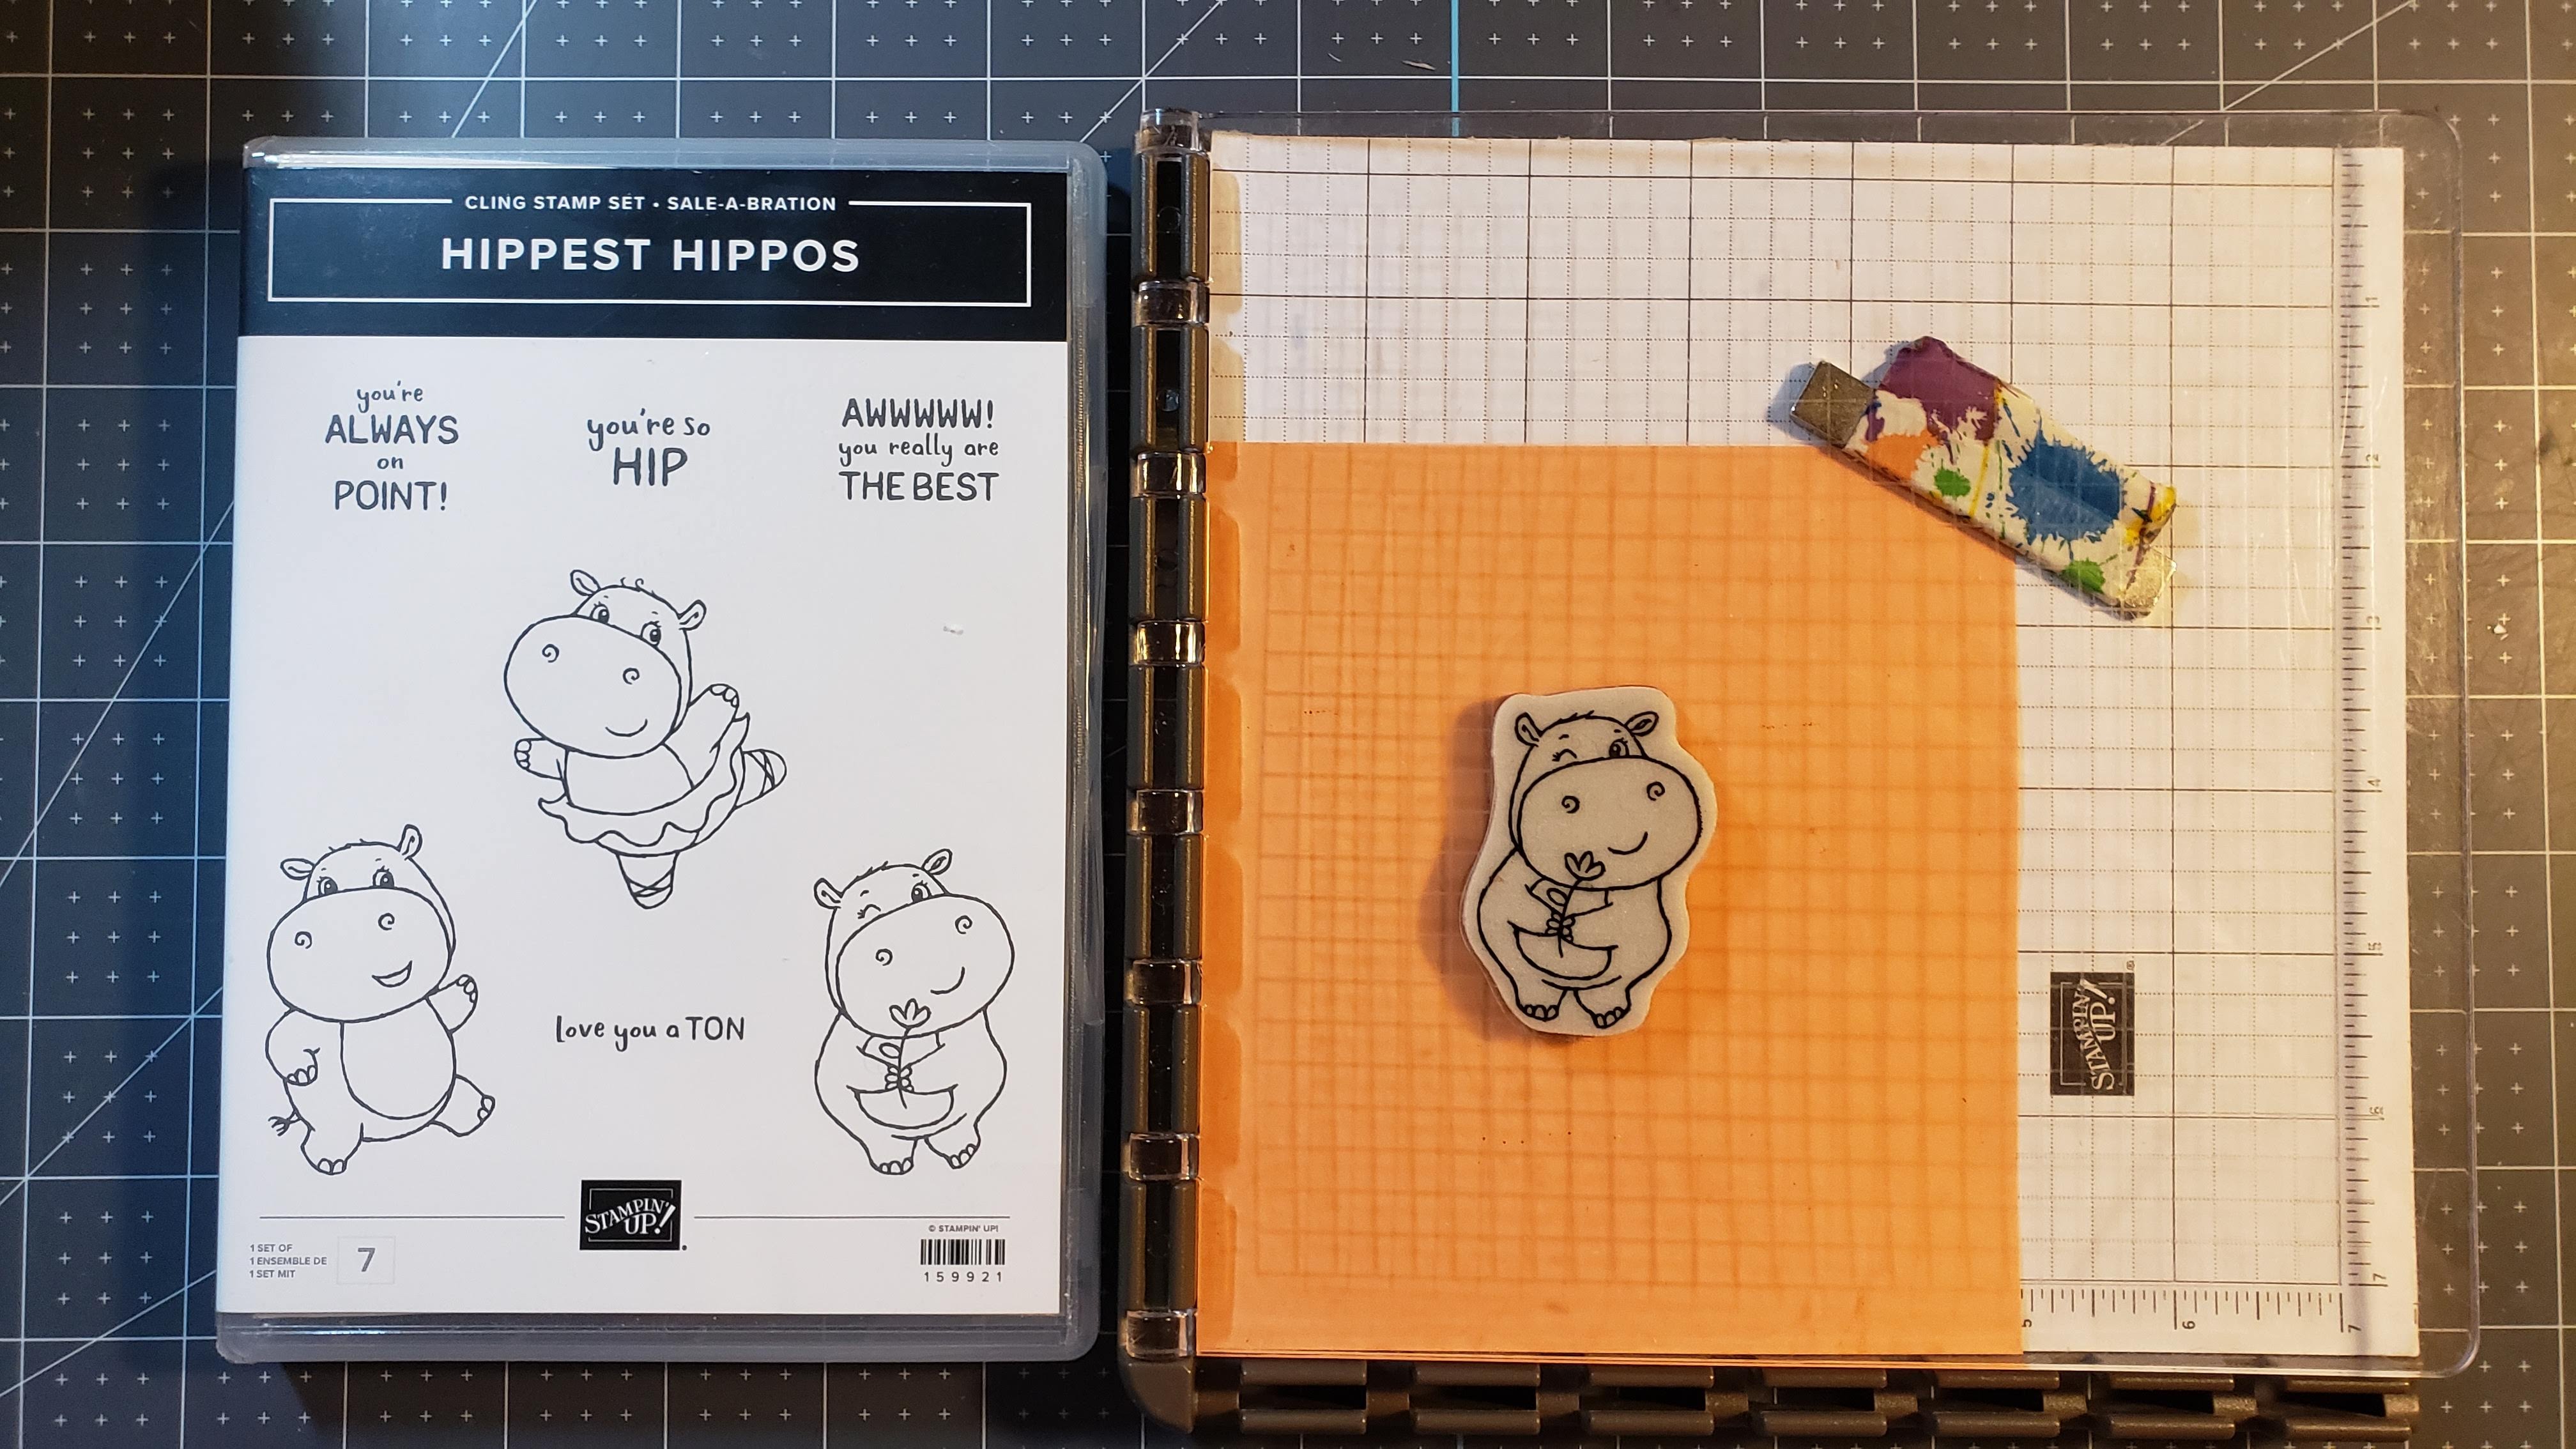
And I now have a perfect stamped image on the die cut.
I use my Take Your Pick tool to pick the image up out of my template. Now I’m ready to stick the next die cut in and go to town! This is so much easier when I’m going to make more than a couple of stamped and die cut images. I don’t have to worry about lining up the image every time.
I hope you enjoyed this quick little tutorial and will give it a try the next time you have quite a few stamped images to cut. Keep stampin’ and scrappin’!